PfSense Appliance
Overview
pfSense® software is a free, open source customized distribution of FreeBSD specifically tailored for use as a firewall and router that is entirely managed via web interface. In addition to being a powerful, flexible firewalling and routing platform, it includes a long list of related features and a package system allowing further expandability without adding bloat and potential security vulnerabilities to the base distribution.
PfSense appliance configuration on HyperCX
The PfSense appliance must first be downloaded from the Virtalus Marketplace.
Download
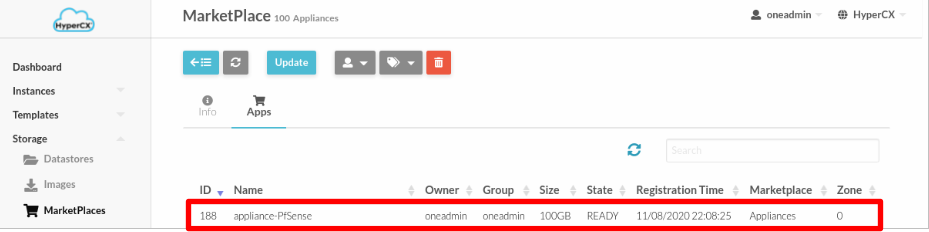
To download the pfsense appliance go to the Storage menu> Marketplace> Appliances.

Network
Before deploying the VM, a LAN network must be created for PfSense, it will be the same network where the VMs that will be in the network managed by the firewall will be deployed.
The following steps should be followed:


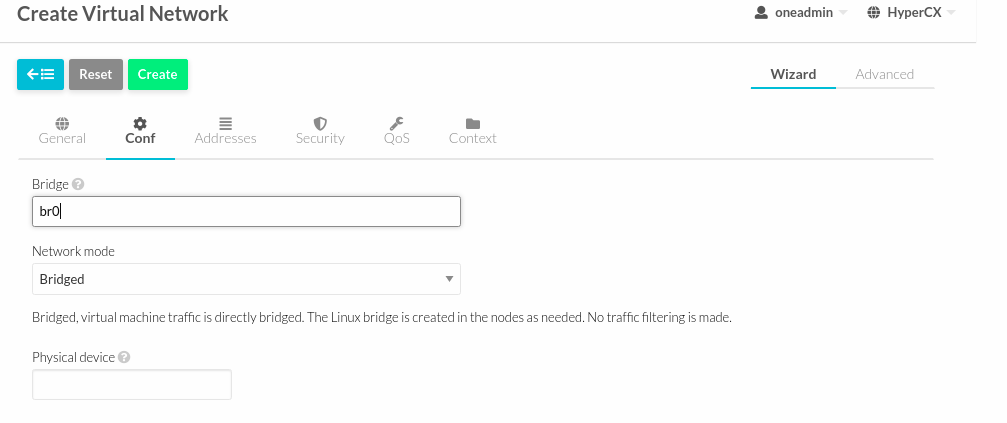
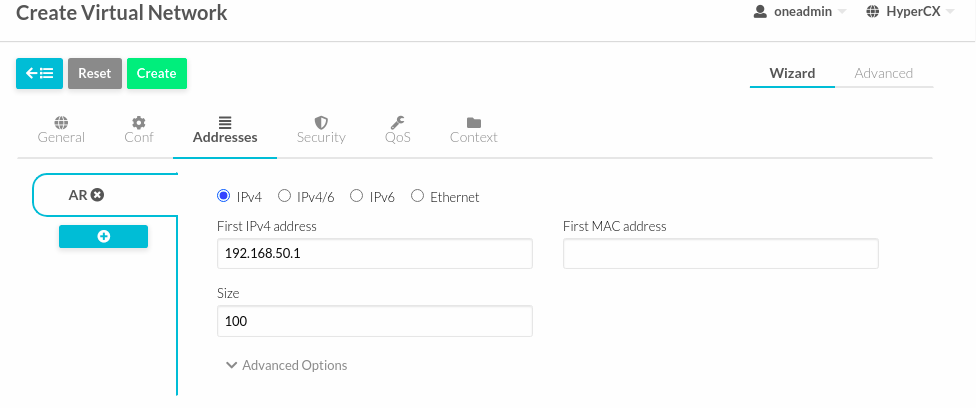

In this example the network is 192.168.50.0/24, where the GW will be 192.168.50.1, which will be assigned to the PfSense LAN later.
Deployment
After creating the new LAN network, the VM must be deployed as follows:
- Allocate RAM, CPU and Storage resources
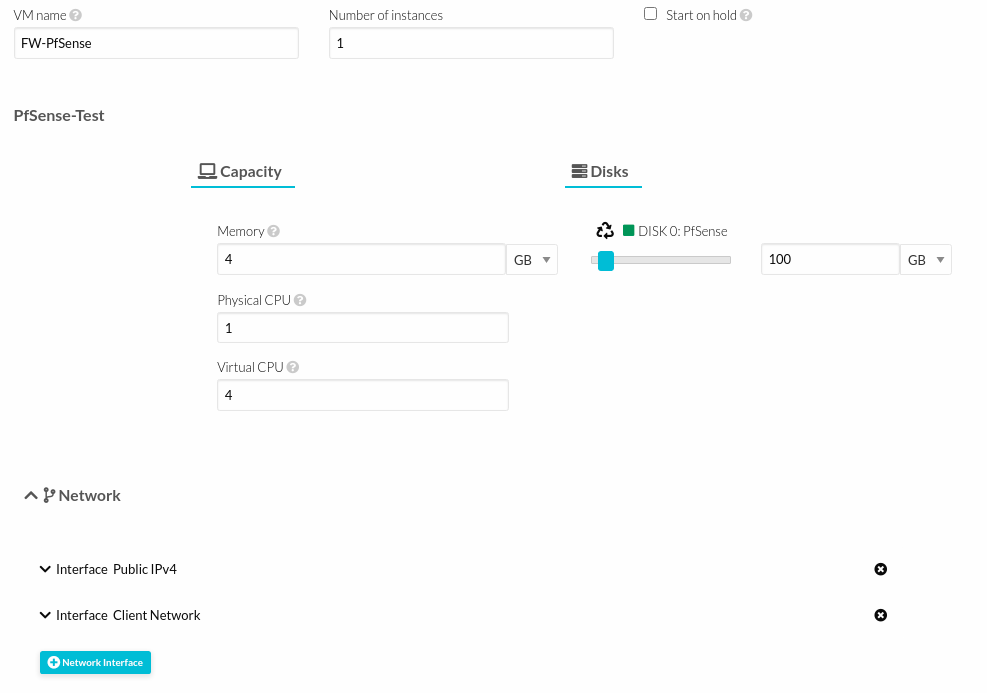
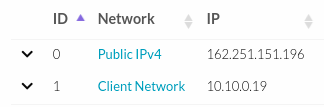
- Selecting the networks, in this part it will be very important, the first network to choose will be the public network (public IP), the second network must be the Client Network, example:
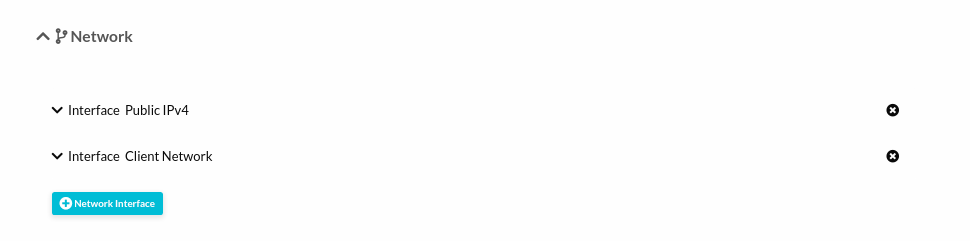
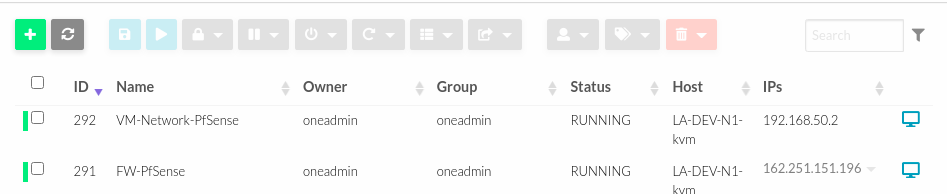
- When the previous steps have been done, the PfSense VM will be deployed and in the network part it should look as follows:
Configuration
Once the VM has been deployed correctly and is in running mode, the internal configurations must be made to enable access.
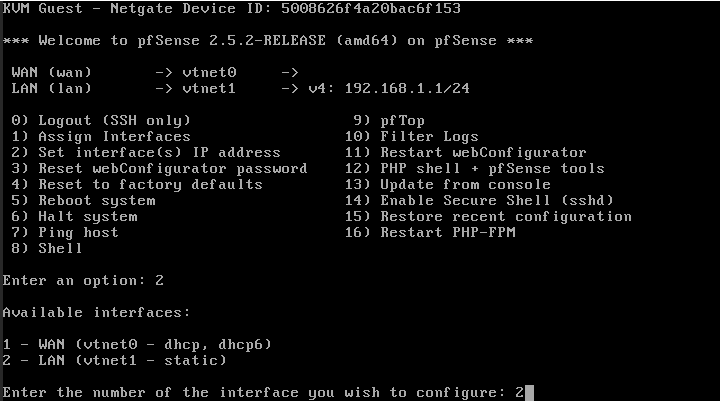
Follow the steps below for configuration:
- In the first option it will be NO, no VLANs will be created.
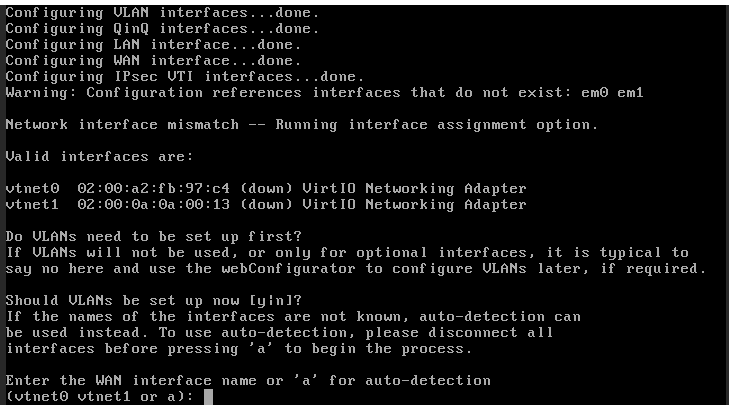
- Virtual NICs will be assigned as follows:
- vtnet0 -> WAN
- vtnet1 -> LAN


It will be as follows:
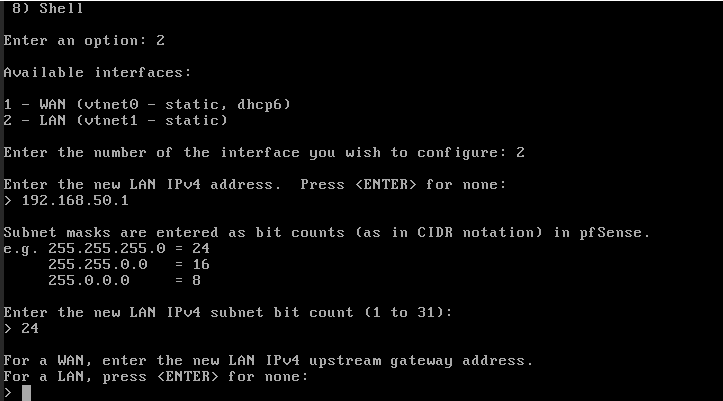
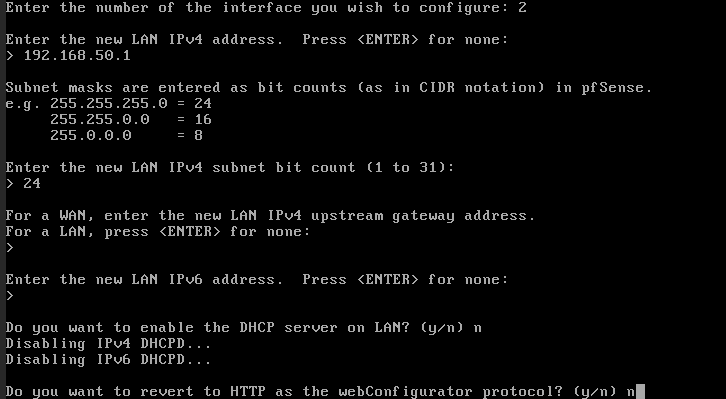
- Now the configuration of the second interface (vtnet1) must be made to have access through the web through an IP from the client's network.
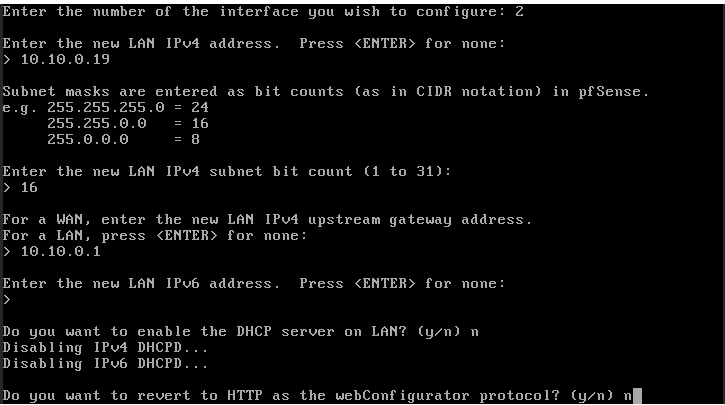

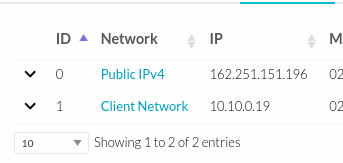
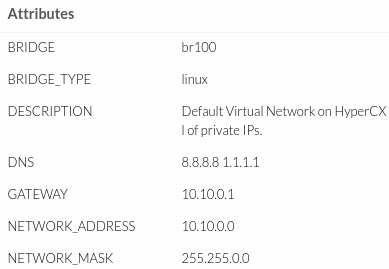
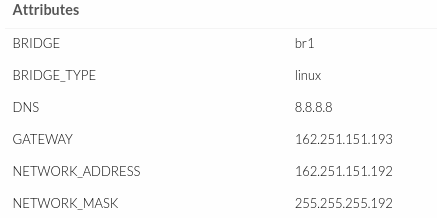
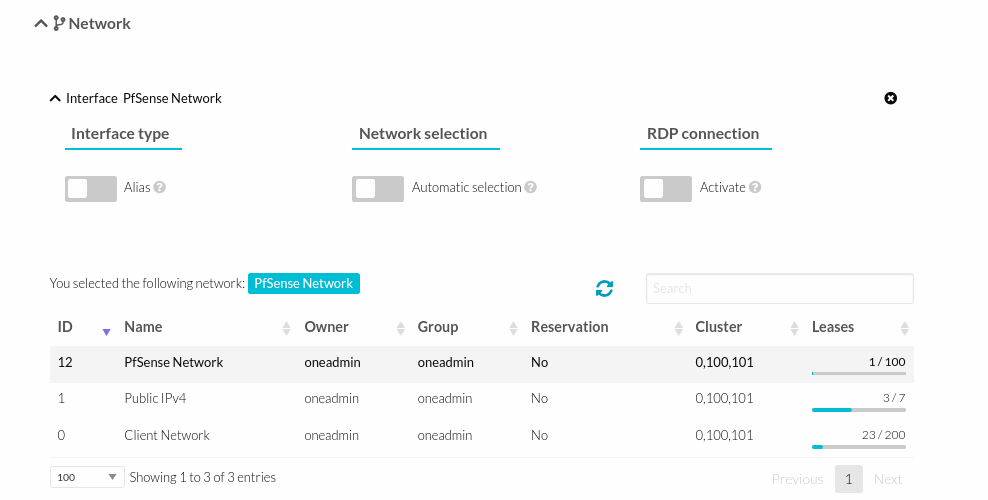
- To know the data of the client network, Network mask, Gateway go to the network menu inside the VM, click on the name of the network:
- Then it will show the network data, example:
- The same will be for the public network:
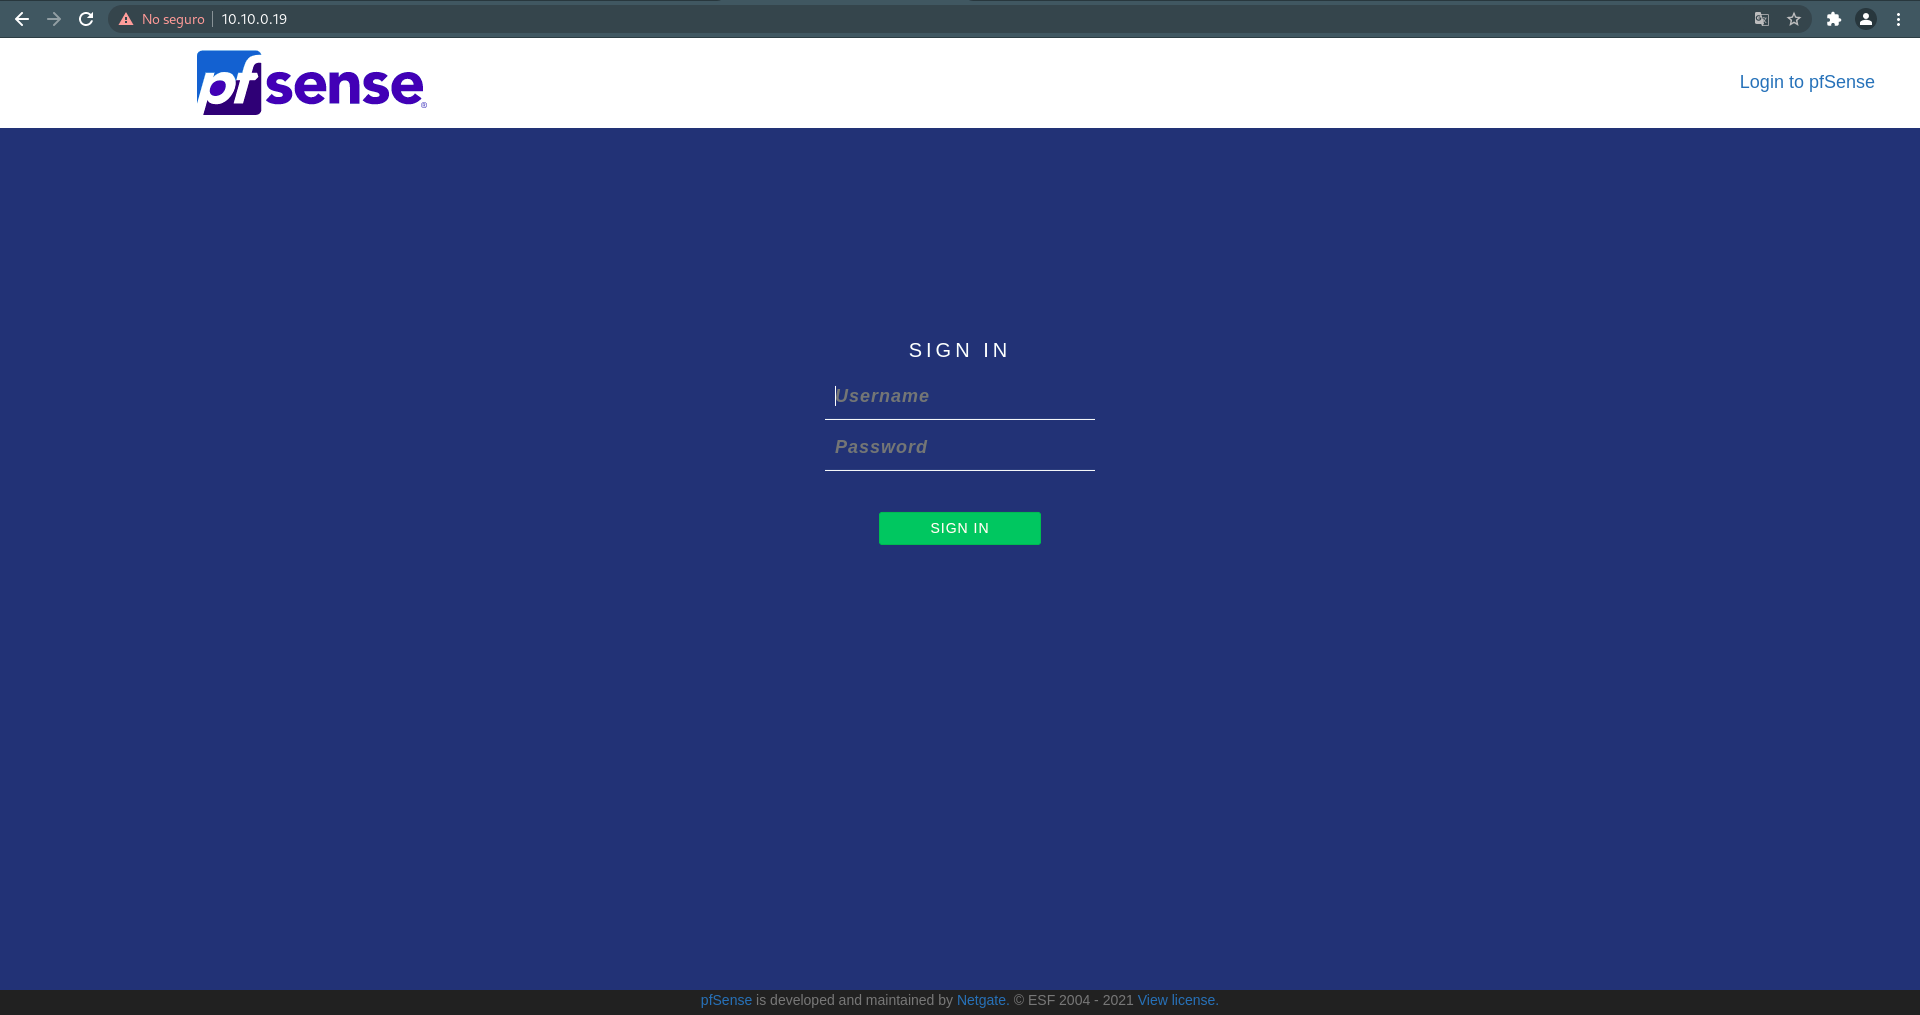
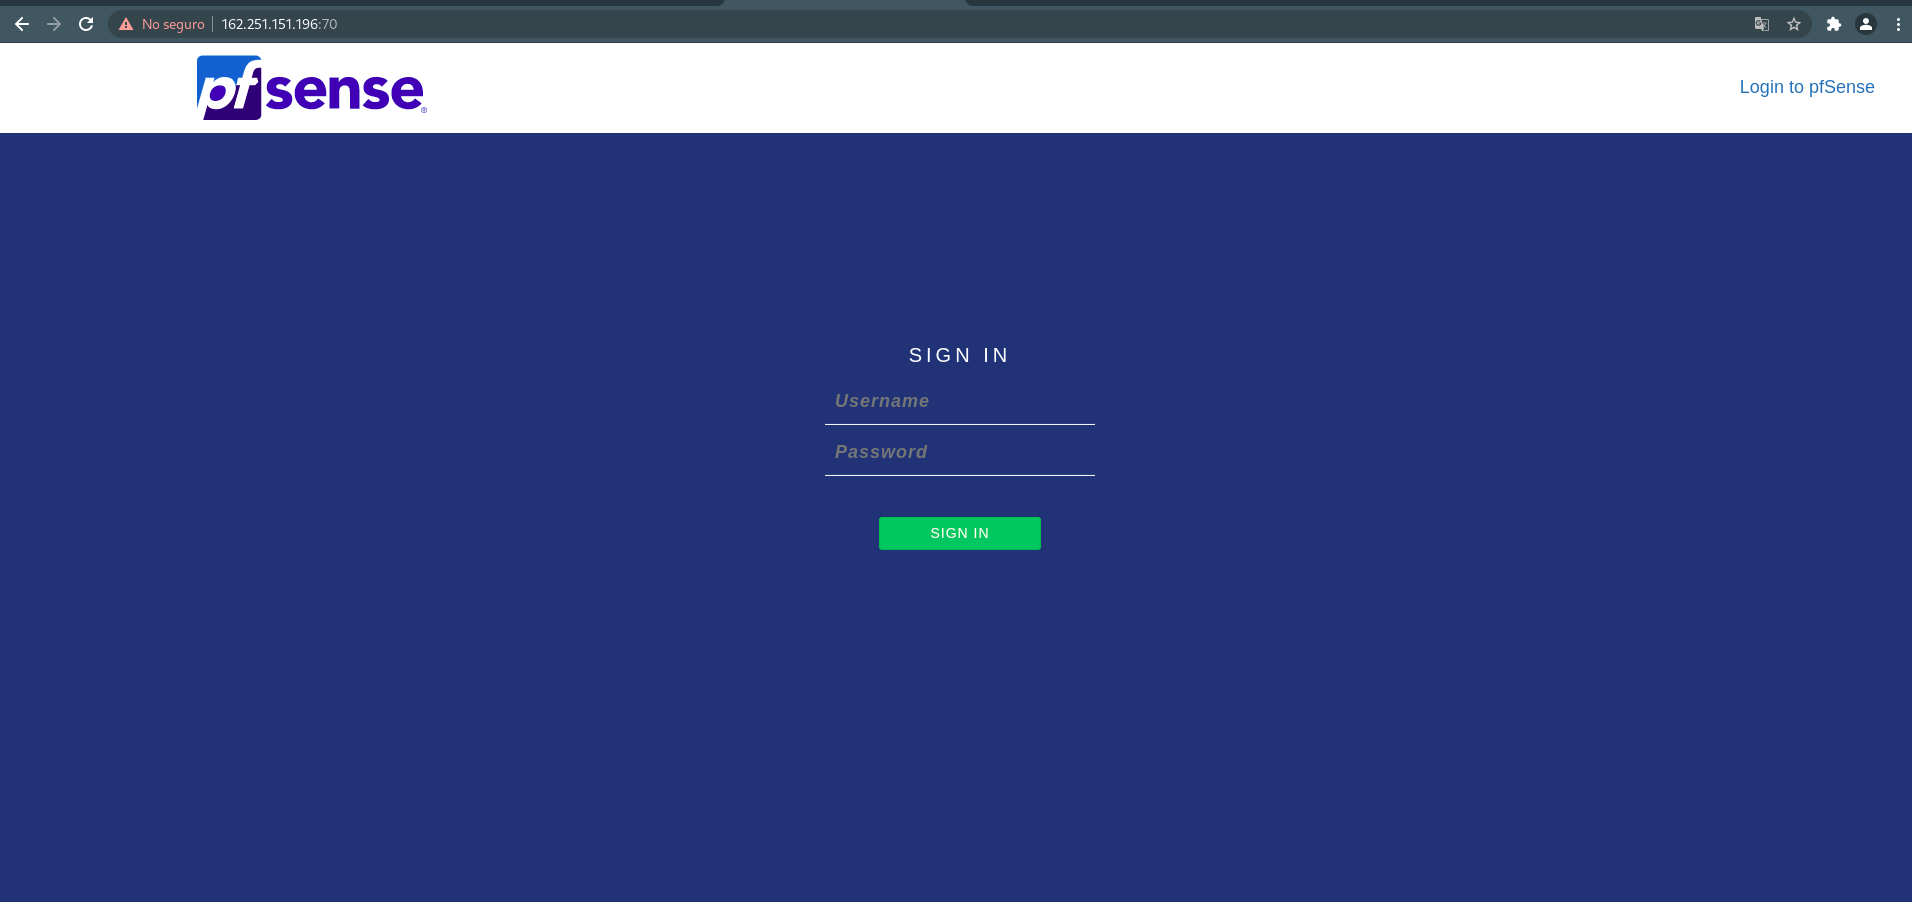
- Once this is done, PfSense can be accessed from the IP of the client network.
Note
To have access to the client network, you must be connected to the VPN of that LAN network. The default username and password to enter are: user: admin pwd: pfsense
- Follow the steps below to perform the initial setup.


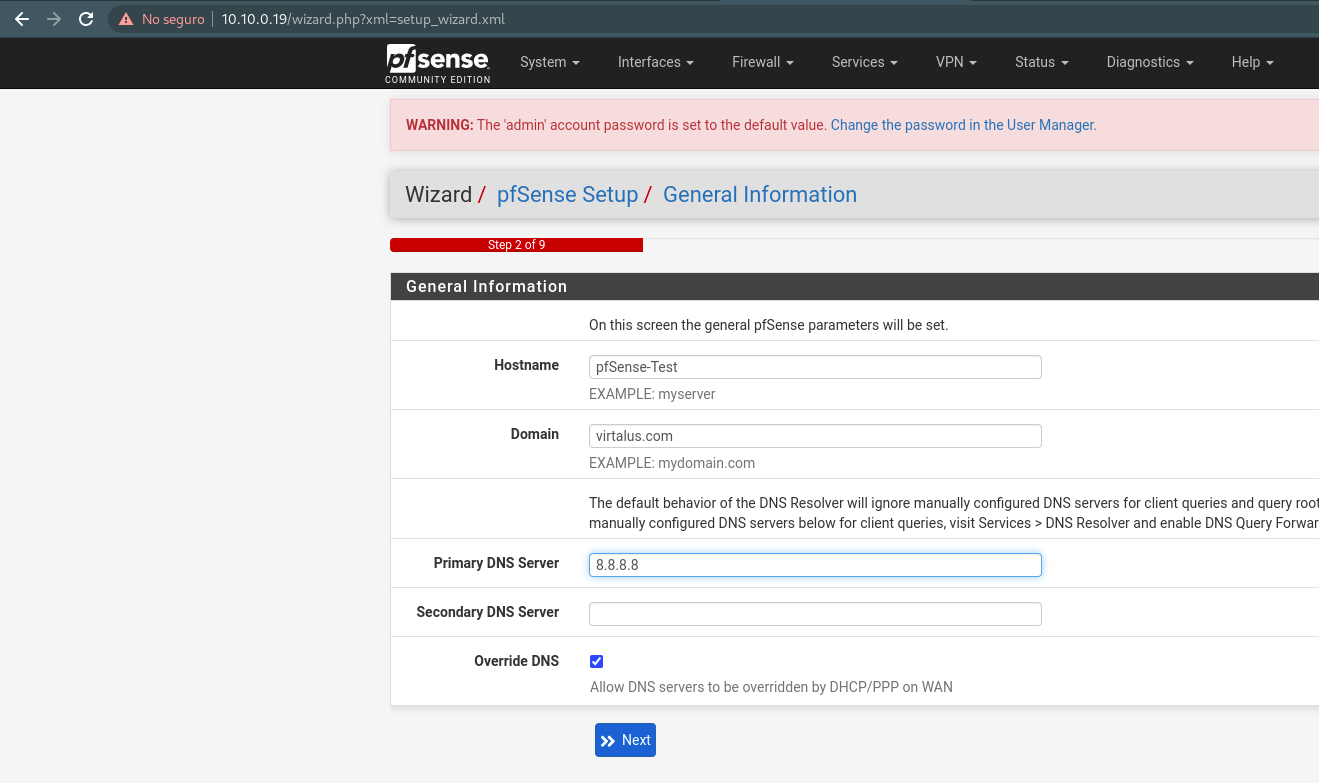
- In this part, the public network must be configured with the necessary data.


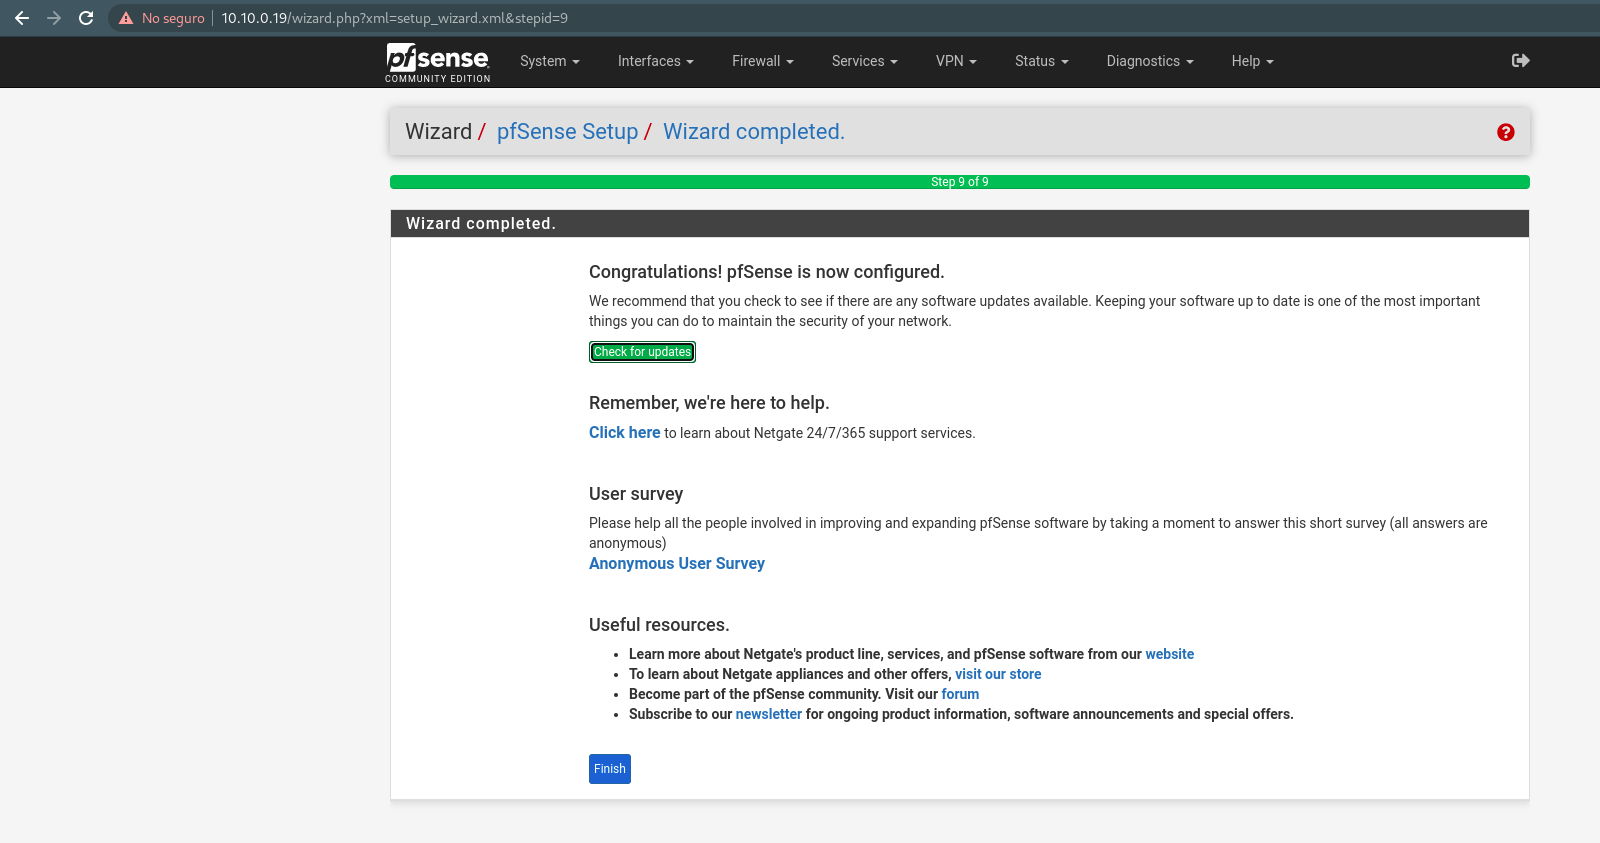
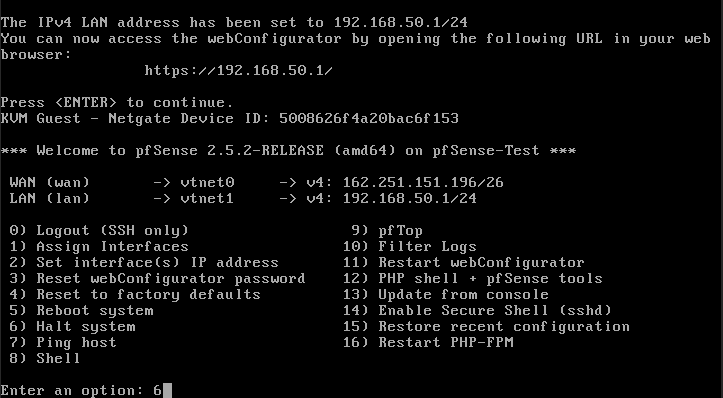
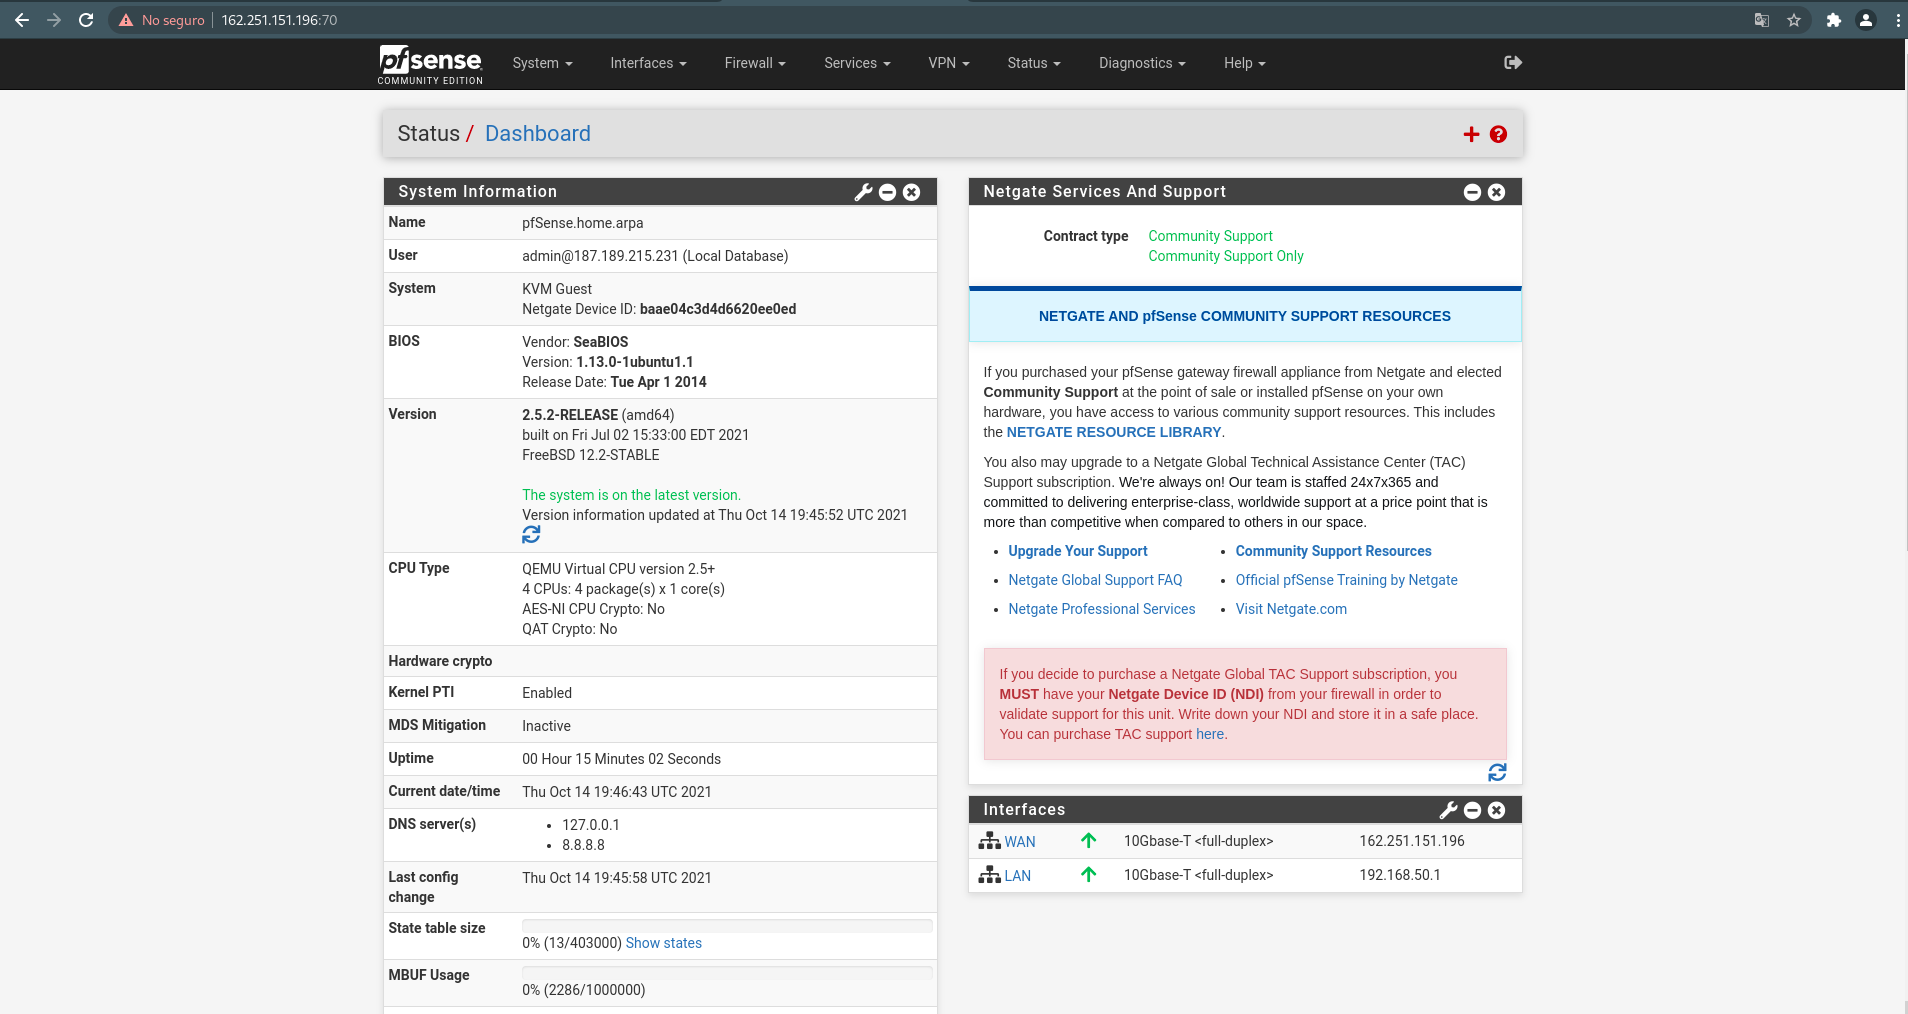
- In the last step, the virtual Firewall will be restarted, it will automatically return to the login page, enter the username and password previously assigned during installation.
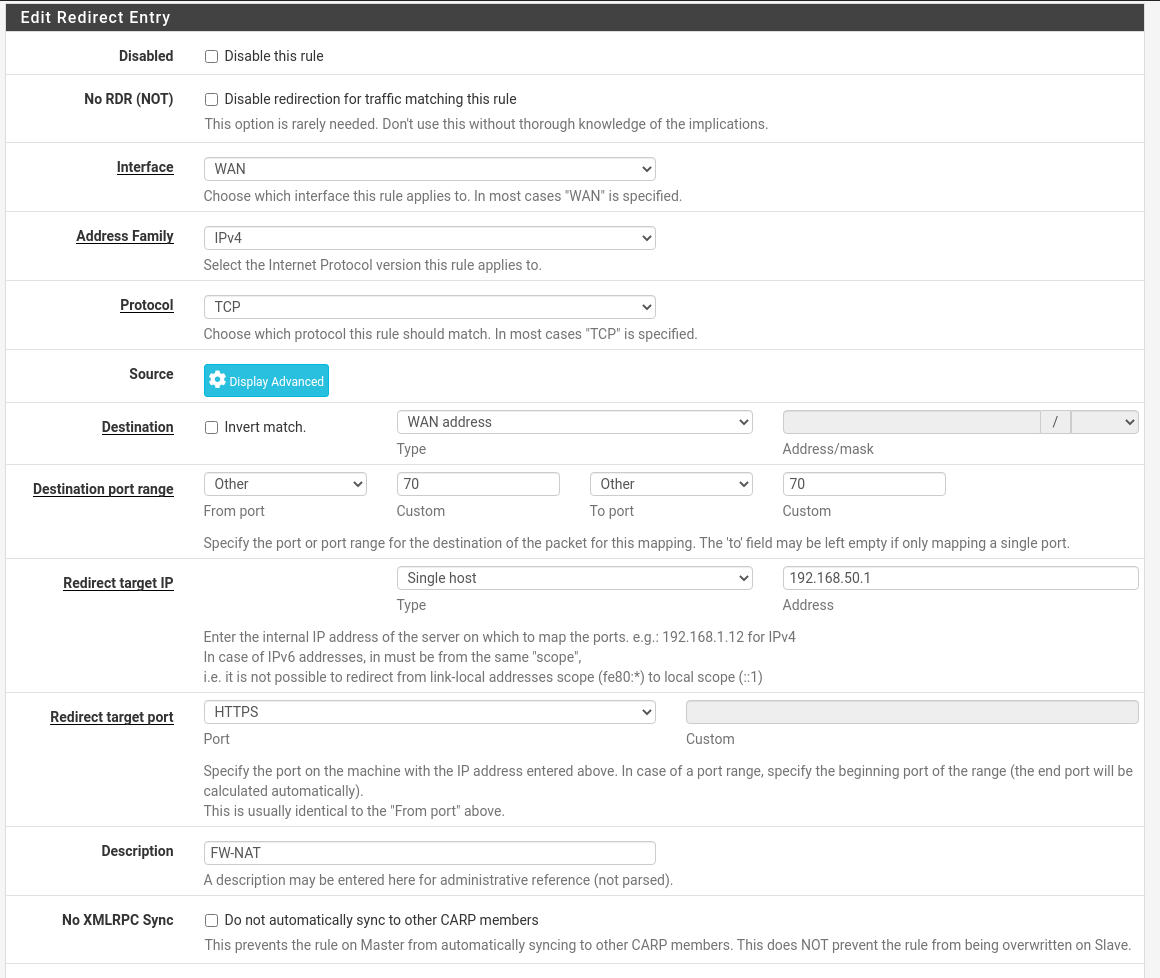
- After the first configuration, do the following, go to menu: Firewall -> NAT -> Add

- Add the following configuration putting the GW IP of the new network that was created in Single host, in this example it is 192.168.50.1.
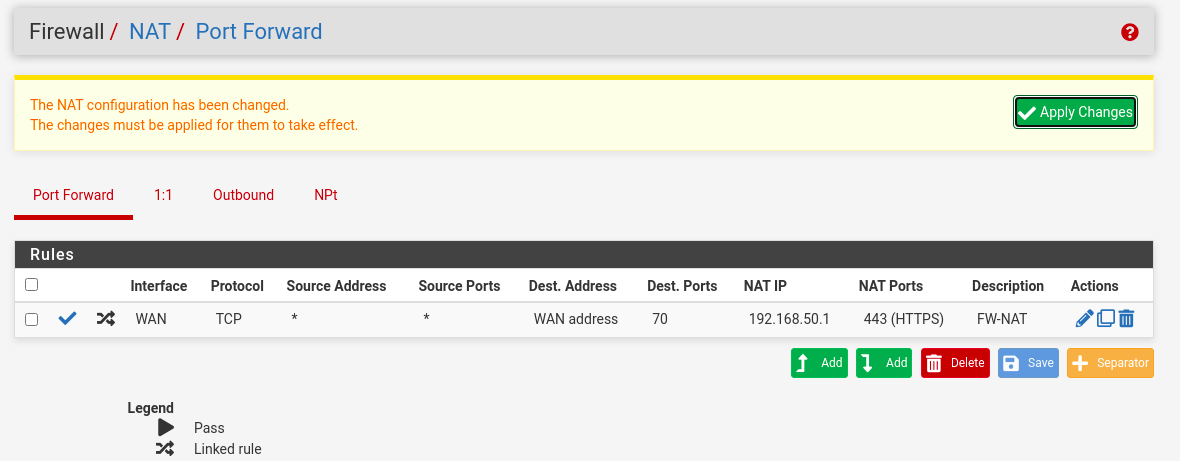
- Apply Changes

- Configure primary gateway for Internet egress. Go to the next menu:

- Choose GW from WAN.
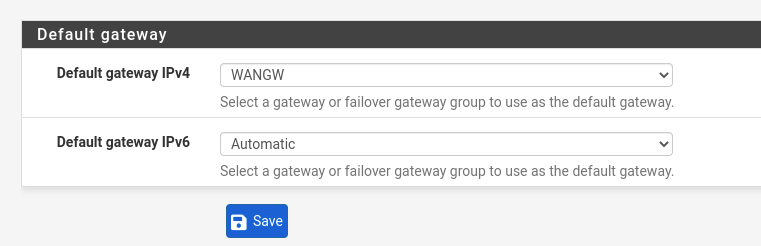
- Apply Changes

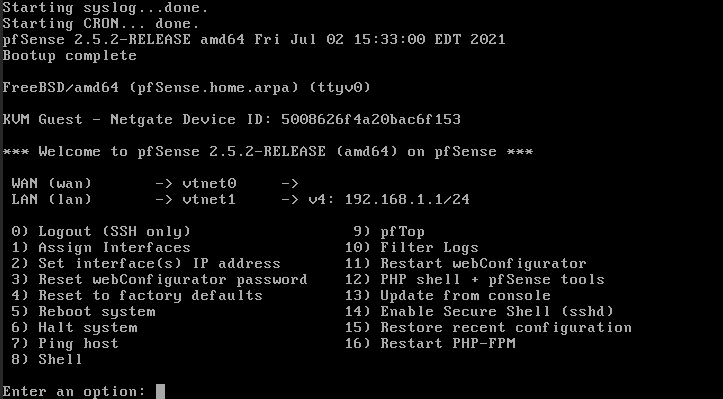
- In the VNC of the PfSense VM you will see the following, now the LAN IP of the client network must be changed to the new PfSense LAN network (the network that was created previously), it will be done as follows:

- It will be as follows, now the VM should be shut down.
- Wait until the VM has entered the POWEROFF state in HyperCX.

- Remove the Client LAN and add the new PfSense network.

- Add PfSense network.

- At the end it will look like the following.

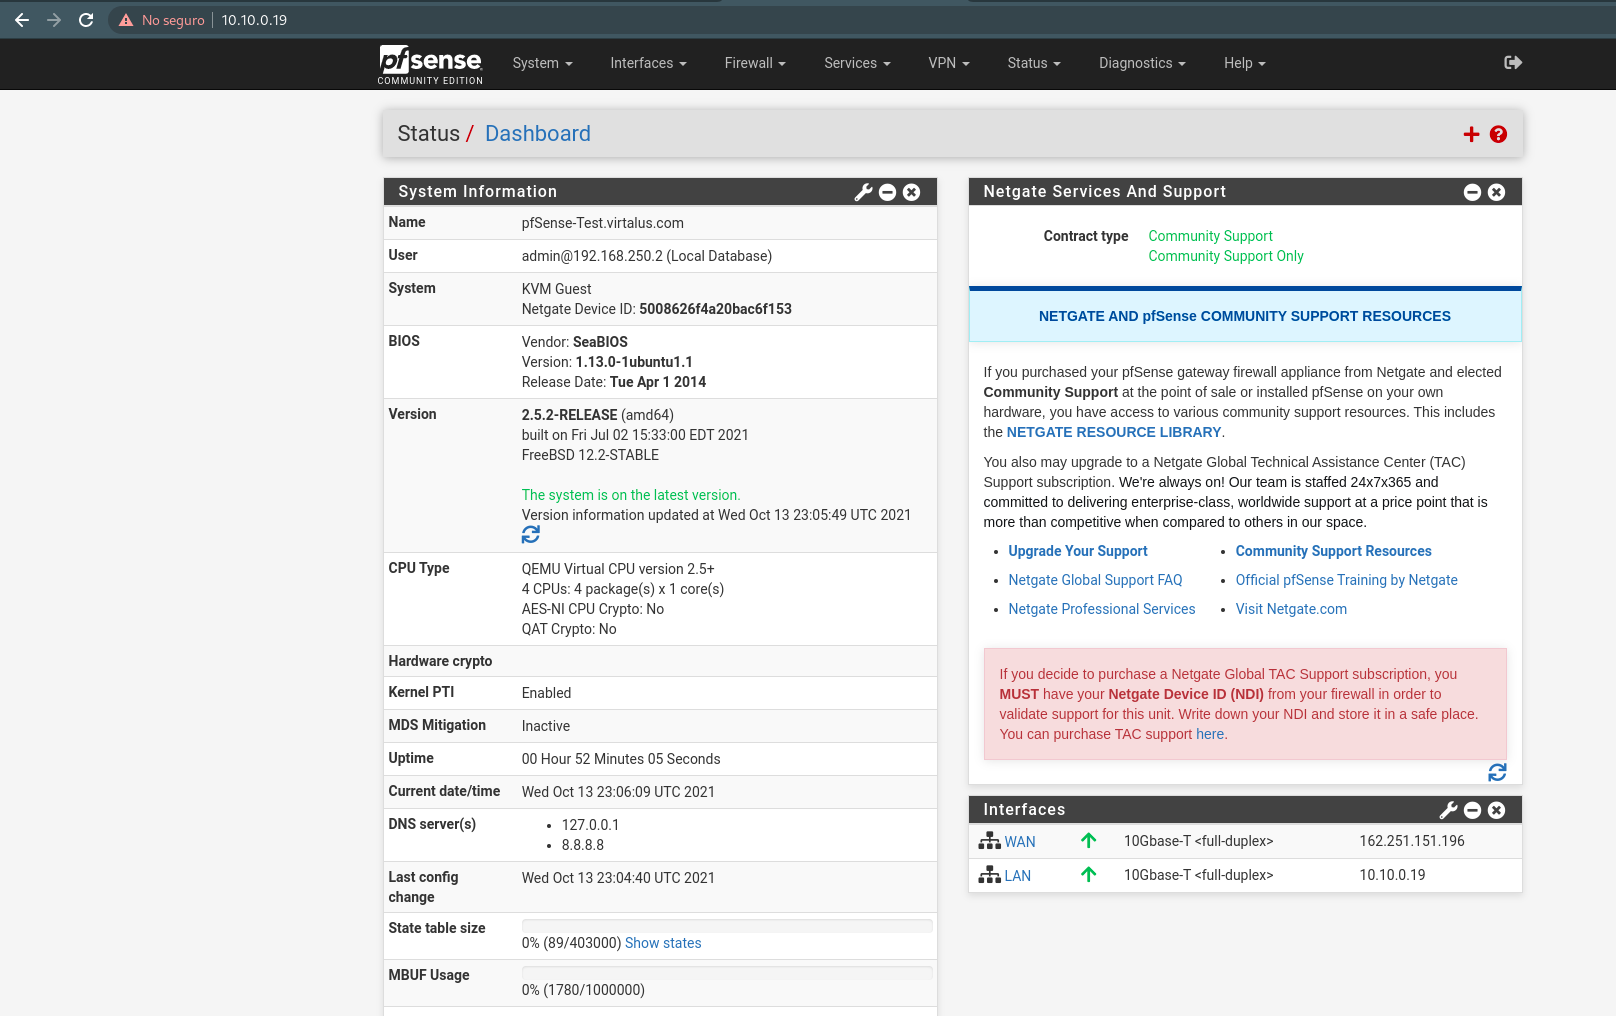
- Now turn on the PfSense VM and validate the access using the public IP.
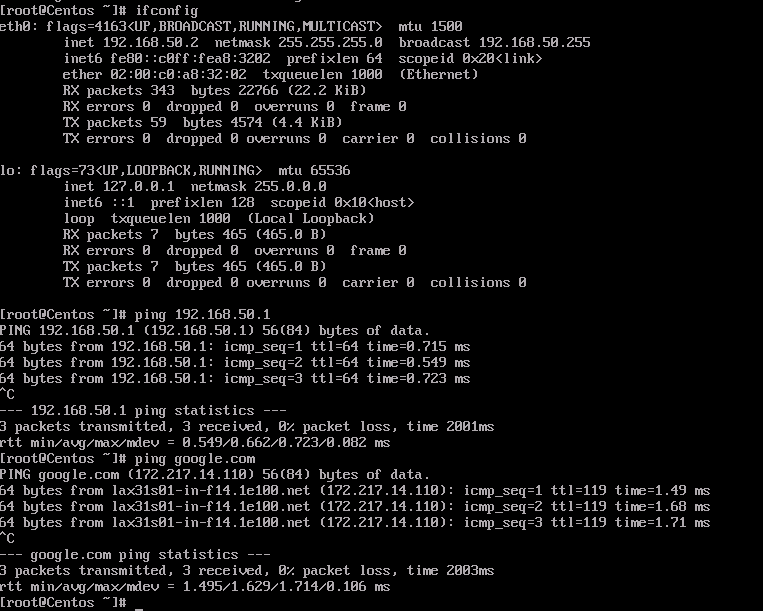
- For testing, create a new VM with desired OS and attach the PfSense network.
- Finally validate the communication towards the Internet and the PfSense Firewall GW.
For more information on PfSense configurations visit the official documentation here.