Windows Miscellenous Guides
The following section contains some documentation related to elements that, although are not directly related to HyperCX but might be needed to properly use HyperCX in some cases.
SSH in Windows using PuTTY
In order to connect to a Linux VMs, SSH is the recommended way. From Linux this is easy to accomplish so it is not explained. From Windows you will most likely be using software called PuTTY. If this is the case you should:
Download PuTTY and PuTTYgen
First you need to download PuTTY. PuTTYgen is a key generator that is installed with the same package in windows.
You can download the latest version according to your OS (32bit or 64bit) from the following link:
After downloading PuTTY, install like you would normally do in Windows OS.
Step 1: Generate SSH Key
-
Launch PuTTYgen from Start Menu
-
Select the type of key you want to generate and specify the bits to 1024 (this is default).
-
Click on Generate, then move the cursor around the blank area. PuTTYgen uses this movement to generate the key's randomness.
-
Save the public and private keys in a folder. (Don’t use the public key just yet notepad might not encode it correctly)
-
Once this is generated, you can set a key comment, or a passphrase. The comment isn't important, as it's just a label, but the passphrase will require that you enter this passphrase when using the key. If you're trying to have a 'passwordless login' then this should be left blank.
-
Copy the public key directly from PuTTYgen (this step is crucial!) including comments and paste the key on your account settings or in context of VM Instance.

- For future references load the private key directly on puttygen and then copy the public key like we did previously.
Step 2: Configure PuTTY profile
After generating keys, now create a profile in PuTTY in order to SSH to a VM. To do this:
-
Open PuTTY and enter Host (IP of VM)
-
Make sure SSH is selected & port is 22. Write a name under Saved Sessions and Save the profile.
-
On the left hand side, click SSH > Auth. Here is the configuration for the key. Click on browse, and browse your harddrive for the private key we saved earlier. Now go back to sessions (again, top left), select your profile in Saved Session and click save once more.
-
Finally, click on Open to start a SSH session to your VM.

Connect to OpenVPN Windows
Note
If you have selected a public network adapter this process is not necessary
For security reasons, Virtalus provides a VPN to connect to any HyperCX cluster built off-prem. In some cases, using this VPN is not optional, but mandatory. On Linux you should use the OpenVPN client that can be found on your distro's repositories. If you are using Windows, you should:
- Download the official OpenVPN Client
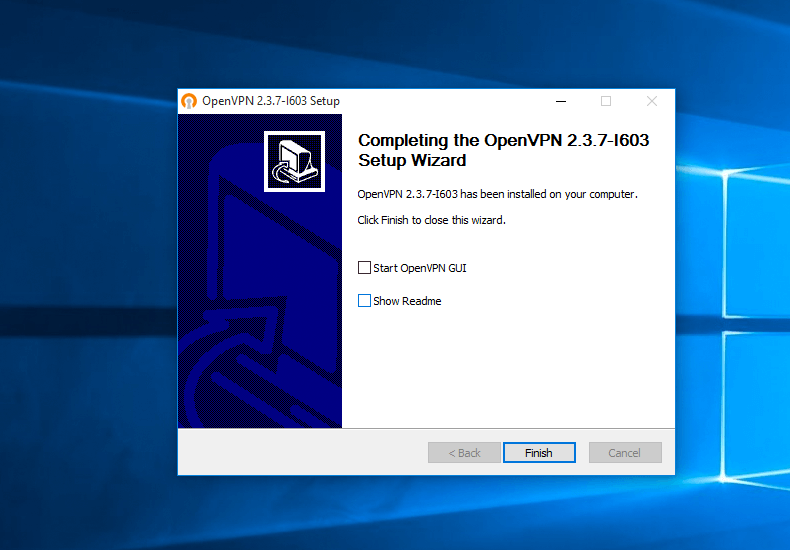
- Run the setup with administrator privileges and follow the installation steps. Confirm the Windows security messages.
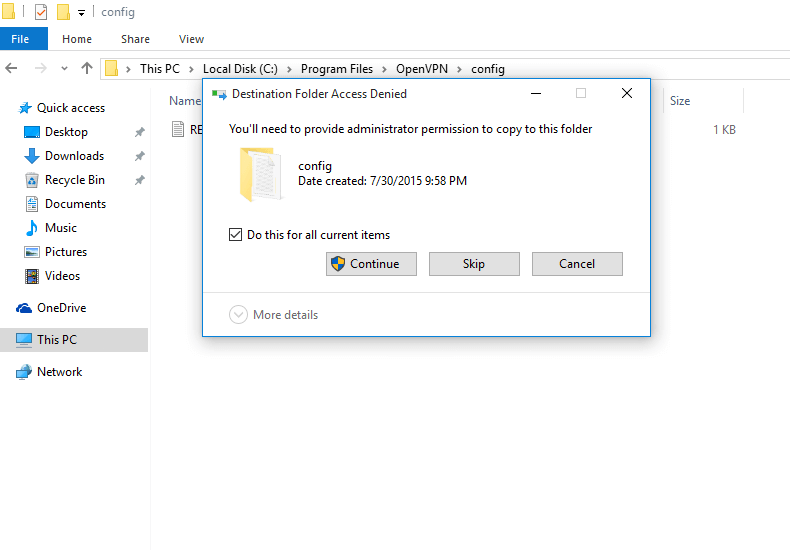
- Download the configuration file sent to you by Virtalus team. Copy all files to the OpenVPN configuration folder (by default C:/Program Files/OpenVPN/config/) and confirm the Windows security messages.
- Click with right on the OpenVPN desktop icon, click on "Settings" and go to the tab "Compatibility". Check "Run the program as administrator".

- Start OpenVPN with administrator privileges and click with right on the OpenVPN tray icon, select your desired VPN config and click on "Connect".
- Once the connection has been successfully established, the OpenVPN icon turns green. You can manage your VPN connection with OpenVPN.
ReArm Windows Server License
HyperCX does not provide license for Windows Server Appliances. Therefore, when Windows Server trial license expires, the OS experiences hourly shutdowns or may show Windows license expiration notice on a regular basis. Head over to Microsoft Evaluation Center for further information.
This guide will show steps to rearm your Windows Server for 180 days which can be repeated for the total time period of 3 years.
Note
It is recommended to have a valid licence for your Windows Server in production rather than relying on Evaluation License.
-
Open an Start Menu, search Command Prompt (cmd) and run as Administrator.
-
Enter the following command to display license information:
cscript.exe %windir%\system32\slmgr.vbs /dlv -
To rearm use the following command:
cscript.exe %windir%\system32\slmgr.vbs /rearm -
Restart the system
After the restart the evaluation period is extended for another 180 days.