Users and Groups
Overview
HyperCX includes a complete user & group management system. Users in an HyperCX infrastructure are classified in four types:
- Administrator user belongs to an admin group (oneadmin or otherwise) and can perform any operations. Oneadmin is the default admin account of the system and must not be removed.
- Service users use a service user account used by the HyperCX services (i.e. serveradmin). These users are used for internal operations only and must not be removed.
- Group admins will be able to perform all tasks that a regular user can, and on top of that it will be able to control some elements from his group (like adding new users to his group.
- Regular users that may access most HyperCX functionality (defined by the admin).
The resources a user may access in HyperCX are controlled by a permissions system that resembles the typical UNIX one. By default, only the owner of a resource (e.g. a VM or an image) can use and manage it. Users can easily share the resources by granting use or manage permissions to other users in her group or to any other user in the system. Upon group creation, an associated admin user can be created. By default this user will be able to create users in the new group, and manage non owned resources for the regular group, through HyperCX portal. This group can also be assigned to VDC, what is basically a pool of HyperCX physical resources (hosts, datastores and virtual networks).
Along with the users & groups the Auth Subsystem is responsible for authentication and authorization of user’s requests. Each operation generates an authorization request that is checked against the registered ACL rules. The core then can grant permission, or reject the request. HyperCX comes with a default set of ACL rules that enables a standard usage. You don’t need to manage the ACL rules unless you need the level of permission customization if offers.
Managing User
HyperCX supports user accounts and groups. This guide shows how to manage users, groups are explained in their own guide. To manage user rights, visit the Managing ACL Rules guide. A user in HyperCX is defined by a username and password. HyperCX users are authenticated using a session string included in every operation, which is checked by the HyperCX core.
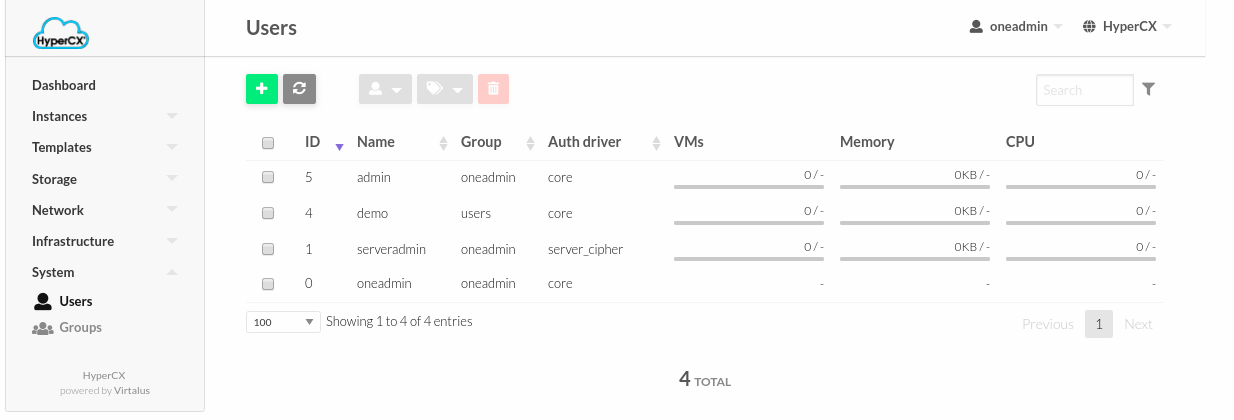
Each user has a unique ID, and belongs to a group. After acquiring a HyperCX cluster, two administrative accounts will exist by default, oneadmin and serveradmin; and two default groups.
Adding and Deleting Users
User accounts within the HyperCX system are managed by oneadmin or a group administrator using the web portal.
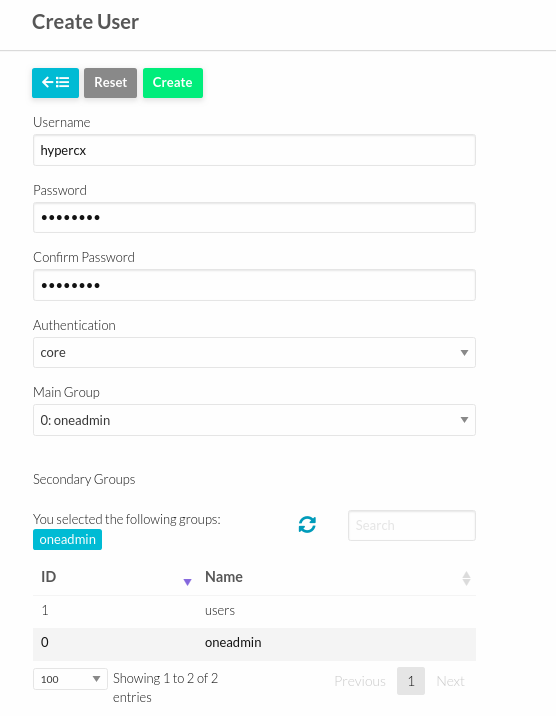
To create a new user:
-
Go to System > Users > ADD User
-
Adjust username and password.
-
Authentication should be set to core.
-
Select main group and secondary group only if the user should belong to two groups.
-
Click Create.
-
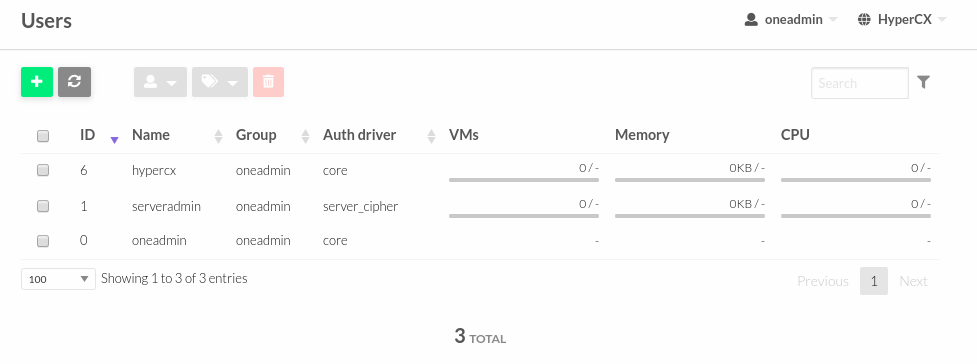
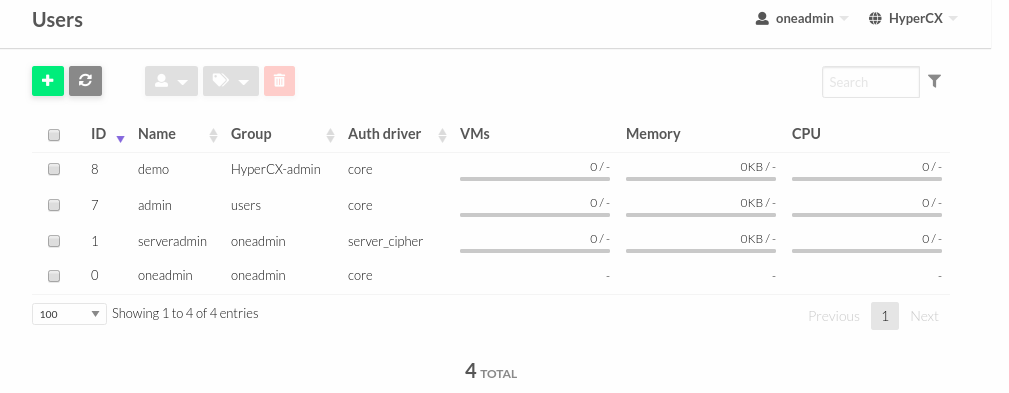
Existing users can be seen in System > Users.
Warning
Serveradmin and oneadmin accounts are internal accounts required for the cluster. Do not delete.
Managing Groups
A group in HyperCX makes it possible to isolate users and resources. A user can optionally see and use the shared resources from other users belonging to the same group. The group is an authorization boundary for the users, but you can also partition your cloud infrastructure and define what resources are available to each group using Virtual Data Centers (VDC).
Adding and Deleting Groups
There are two special groups created by default. The oneadmin group allows any user in it to perform any operation, allowing different users to act with the same privileges as the oneadmin user. The users group is the default group where new unprivileged users are created. To create new groups:
-
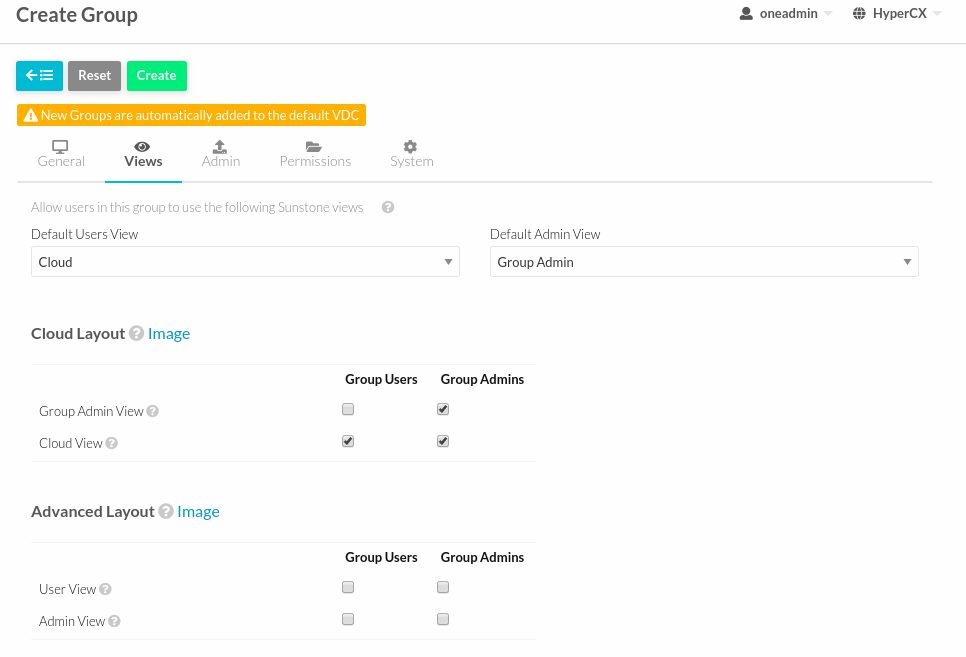
Click System > Groups > ADD Groups.
-
Adjust name for Groups.
-
Choose view for the group.
-
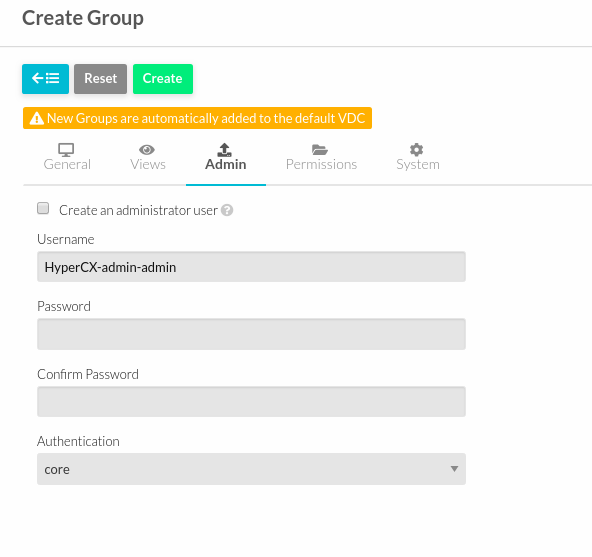
To create an administrator for the group, just check under “Create an administrator user”.
-
User can allow member of groups to see the VM of another member and user can manage the access of the group too.
-
Click Create.
Managing Groups and Virtual Resources
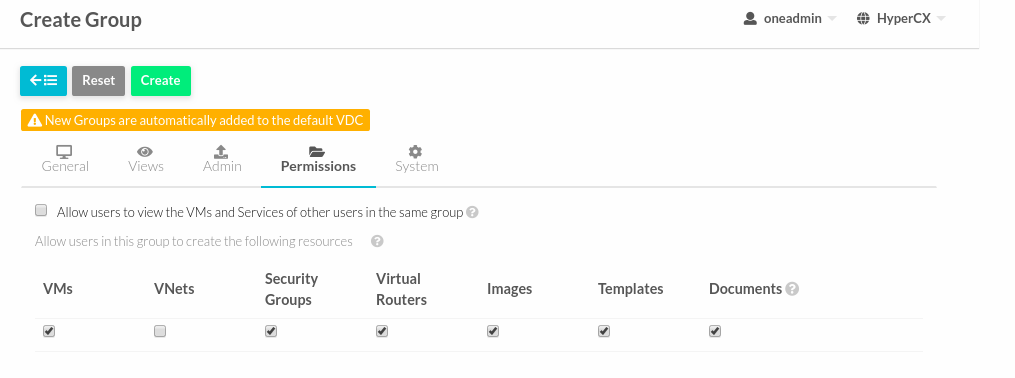
You can make the following virtual resources available to group users:
-
Virtual Machine Templates.
-
Service Templates.
-
Images.
-
Files & Kernels
To make a virtual resource owned by oneadmin available to users of the new group, you have two options:
-
Change the resource group, and give it GROUP USE permissions. This will make the resource only available to users in that group. The recommended practice to assign golden resources to groups is to first clone the resource and then assign it to the desired group for their users’ consumption.
-
Leave the resource in the oneadmin group, and give it OTHER USE permissions. This will make the resource available to every user in HyperCX.
Resource Sharing
When a new group is created the cloud administrator can define if the users of this view will be allowed to view the VMs and Services of other users in the same group. If this option is checked a new ACL rule will be created to give users in this group access to the VMS and Services in the same group. Users will not able to manage these resources but they will be included in the list views of each resource.
Managing Permissions
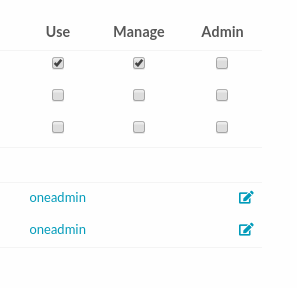
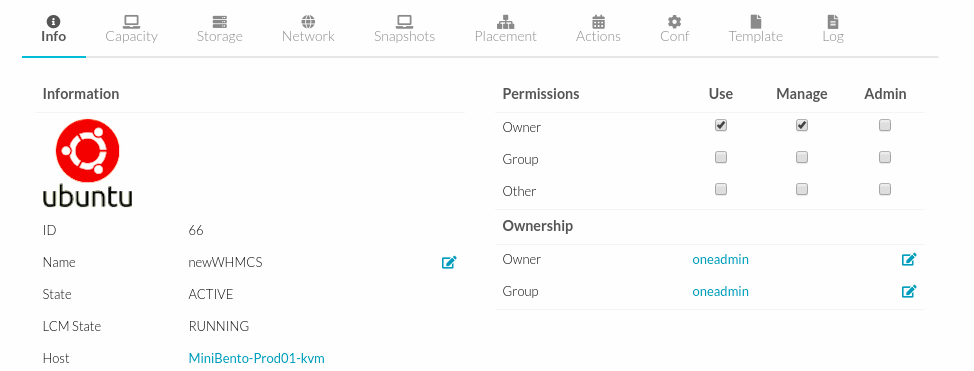
Most HyperCX resources have associated permissions for the owner, users in the group, and others. For each one of these groups, there are three rights that can be set: USE, MANAGE and ADMIN. These permissions are very similar to those of UNIX file system.
The resources with associated permissions are VMs, Templates, Images and Virtual Networks. The exceptions are Users, Groups and Hosts.
In general these rights are associated with the following operations:
- USE: Operations that do not modify the resource like listing it or using it (e.g. using an image or a virtual network). Typically you will grant USE rights to share your resources with other users of your group or with the rest of the users.
- MANAGE: Operations that modify the resource like stopping a virtual machine, changing the persistent attribute of an image or removing a lease from a network. Typically you will grant MANAGE rights to users that will manage your own resources.
- ADMIN: Special operations that are typically limited to administrators, like updating the data of a host or deleting an user group. Typically you will grant ADMIN permissions to those users with an administrator role.
As an example, the following parameters define the operations associated to the ADMIN, MANAGE and USE permissions in the VMs:
- VM_ADMIN_OPERATIONS = "migrate, delete, recover, retry, deploy, resched"
- VM_MANAGE_OPERATIONS = "undeploy, hold, release, stop, suspend, resume, reboot, poweroff, disk-attach, nic-attach, disk-snapshot, terminate, disk-resize,snapshot, updateconf, rename, resize, update, disk-saveas"
- VM_USE_OPERATIONS = For this resource, this group is empty.
Note that some VM operations require additional permissions on other objects. Also some operations refer to a class of actions:
- disk-snapshot, includes create, delete and revert actions
- disk-attach, includes attach and detach actions
- nic-attach, includes attach and detach actions
- snapshot, includes create, delete and revert actions
- resched, includes resched and unresched actions
Primary and Secondary Groups
Users assigned to more than one group will see the resources from all their groups. e.g. a user in the groups testing and production will see VMs from both groups. Users can change their primary group to any of their secondary group without the intervention of an administrator.
Managing Quotas
This guide will show you how to set the usage quotas for users and groups.
Overview
The quota system tracks user and group usage of system resources, and allows the system administrator to set limits on the usage of these resources. Quota limits can be set for:
-
Users, to individually limit the usage made by a given user.
-
Groups, to limit the overall usage made by all the users in a given group.
Which Resource can be limited?
The quota system allows you to track and limit usage on:
-
Datastores, to control the amount of storage capacity allocated to each user/group for each datastore.
-
Compute, to limit the overall memory, cpu or VM instances.
-
Network, to limit the number of IPs a user/group can get from a given network. This is specially interesting for networks with public IPs, which usually are a limited resource.
-
Images, you can limit the how many VM instances from a given user/group are using a given image. You can take advantage of this quota when the image contains consumable resources (e.g. software licenses).
The following table explains the attributes needed to set each quota:
Datastore Quotas
| DATASTORE Attribute | Description |
|---|---|
| ID | ID of the Datastore to set the quota for |
| SIZE | Maximum size in MB that can be used in the datastore |
| IMAGE | Maximum number of images that can be created in the datastore |
Compute Quotas
| VM Attribute | Description |
|---|---|
| VMS | Maximum number of VMs that can be created |
| MEMORY | Maximum memory in MB that can be requested by user/group VMs |
| CPU | Maximum CPU capacity that can be requested by user/group VMs |
| SYSTEM_DISK_SIZE | Maximum size (in MB) of system disks that can be requested by user/group VMs |
Network Quotas
| NETWORK Attribute | Description |
|---|---|
| ID | ID of the Network to set the quota for |
| LEASES | Maximum IPs that can be leased from the Network |
Image Quotas
| IMAGE Attribute | Description |
|---|---|
| ID | ID of the Image to set the quota for |
| RVMS | Maximum VMs that can used this image at the same time |
For each quota, there are two special limits: * -1: means that the default quota will be used. * -2: means unlimited.
Setting User/Group Quotas
User/group quotas can be easily set up through the web interface. Note that you need MANAGE permissions to set a quota of user, and ADMIN permissions to set the quota of a group. In this way, by default, only oneadmin can set quotas for a group, but if you define a group manager this can set specific usage quotas for the users on her group (so distributing resources as required).
To set the quota for a user:
-
Click System > Users.
-
Select the user.
-
Click Quotas > Edit.
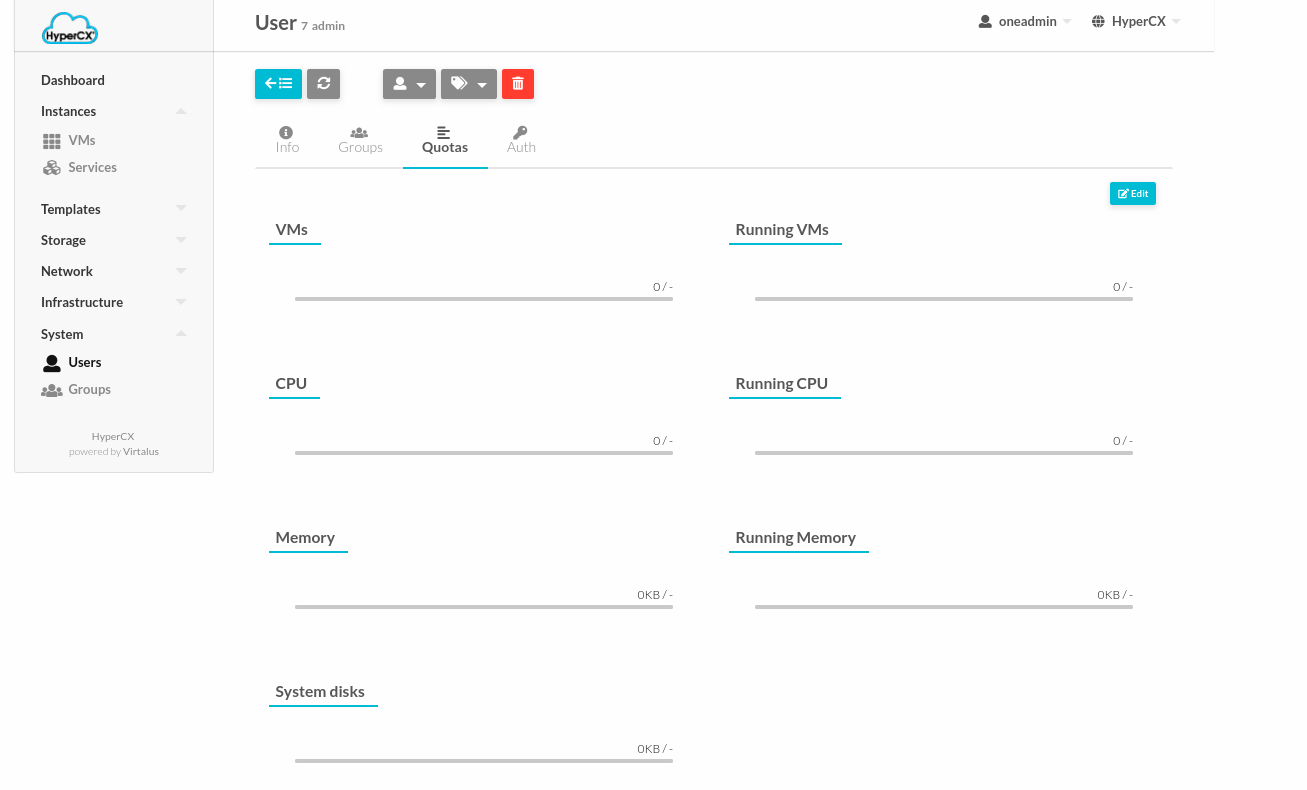
-
Setup the Quota for user then Apply.
Similarly, you can set the quotas for groups:
-
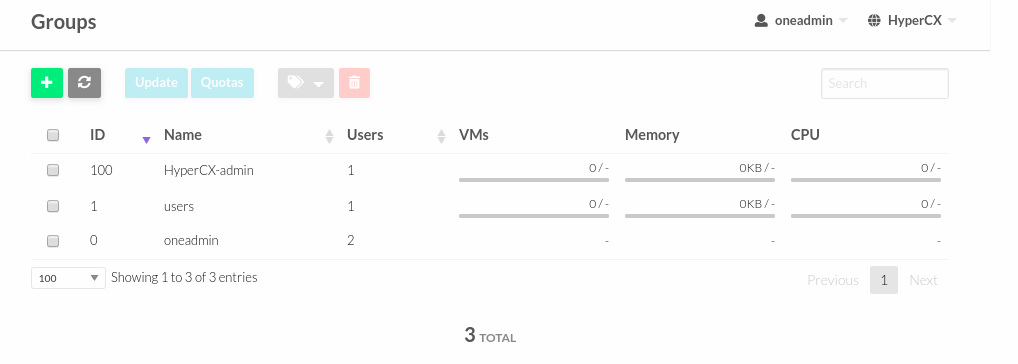
Click System > Groups.
-
Select the group.
-
Click Quotas > Edit.

-
Setup the Quota for group then Apply.
Checking User/Group Quotas
Quota limits and usage for each user/group is included as part of its standard information, so it can be easily check with the usual commands. We can check the user or group quotas from the web interface with:
-
Go to Portal and Login as SuperAdmin or Admin group.
-
Click System > Users or Groups.
-
Quotas for User or Group can be like this picture.
Secure Access and Other Login Options
Username and passwords can either be replaced or hardened with other authentication methods.
Two Factor Authentication
You can create an additional method authentication of two-step verification that not only requests for a username and password, but also use an authenticator app or security keys.
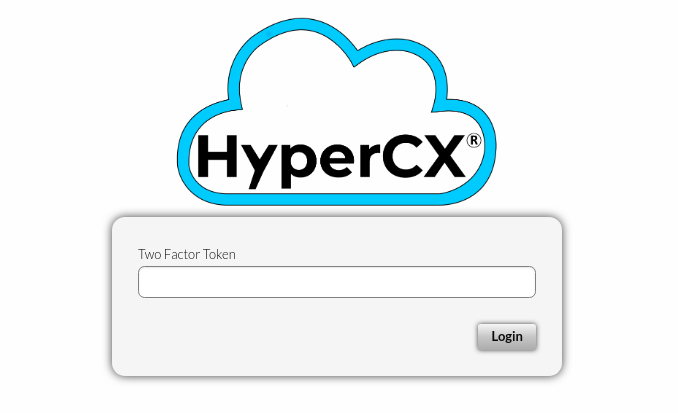
Authenticator App
This method requires a token generated by any of these applications: Google Authentication, Authy or Microsoft Authentication.
To enable this, you must follow these steps:
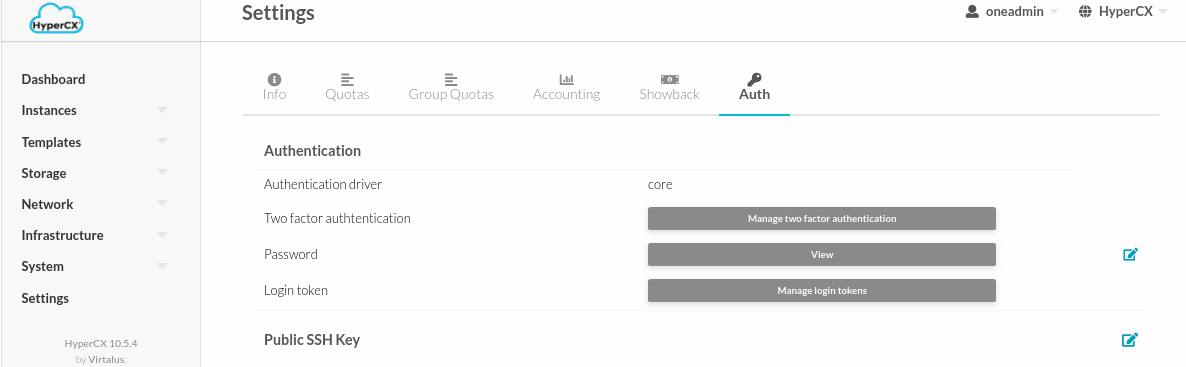
- Log in HyperCX, and select Settings. Inside find and select the tab Auth.
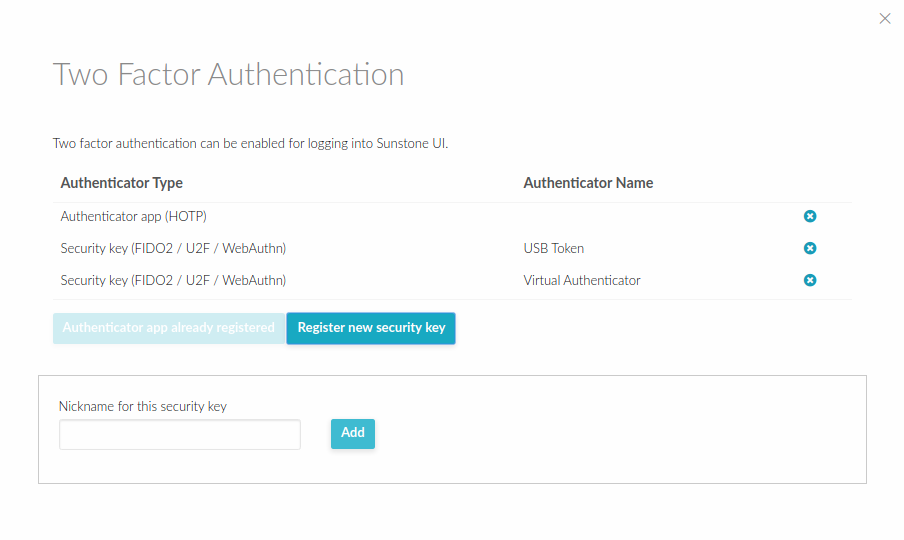
- Inside find and select the button Manage two factor authentication and Register authenticator app.
-
A window will appear with a QR code. It must be scanned with your authenticator app. That will generate a 6-character code which you must place in the code input field.

-
To disable 2FA, go to the Settings, Auth tab and click remove button.
Reset a user 2FA
There are 2 ways to unlock 2FA depending on the case:
- Public Cloud user:
When a user has used Two Factor Authentication and the synchronized application was deleted, uninstalled or lost, should send an email to support@virtalus.com to request the unlocking of 2FA, the support team will notify when the user has been unlocked.
- Dedicated cloud Administrator User:
If are an administrator with a superadmin account, must perform the following steps to unblock an account that has used 2FA:
- Go to the System> User menu.

- Select the blocked user and go to the Auth sub menu.
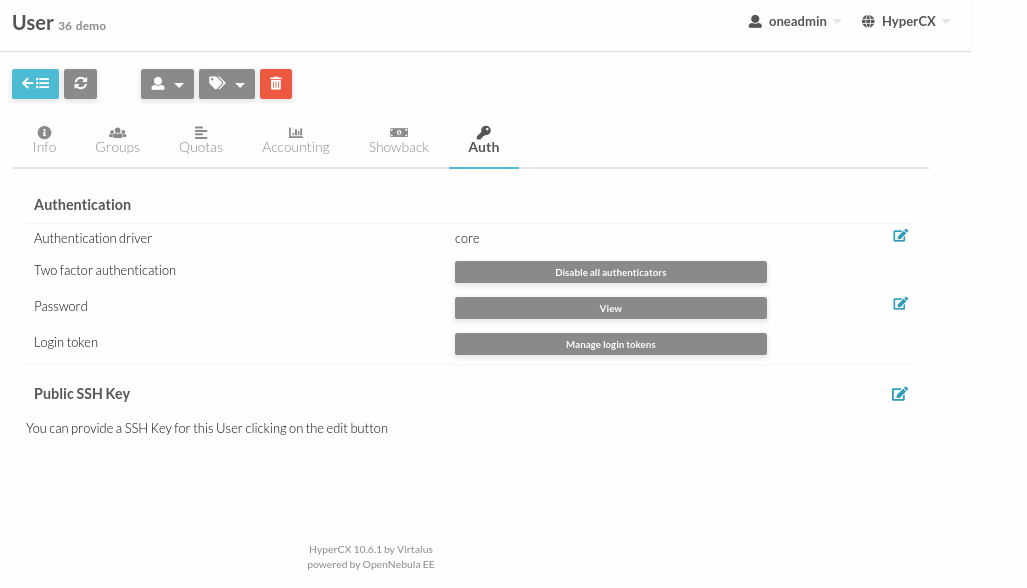
- Click on Disable all authenticators and in this way the user will be unblocked.

Access tokens
To improve the system security in HyperCX user can use authentication tokens. In this way there is no need to store plain passwords. Furthermore, if the user belongs to multiple groups, a token can be associated to one of those groups, and when the user operates with that token he will be effectively in that group, i.e. he will only see the resources that belong to that group, and when creating a resource it will be placed in that group.
Creating Tokens
To create a token for group user:
- Login to Portal.
- Click Username.
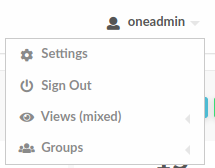
- Go to Setting.
- Then Select Auth section.
- Click Manage login tokens.
- Adjust Expiration for token.
- Select user group.
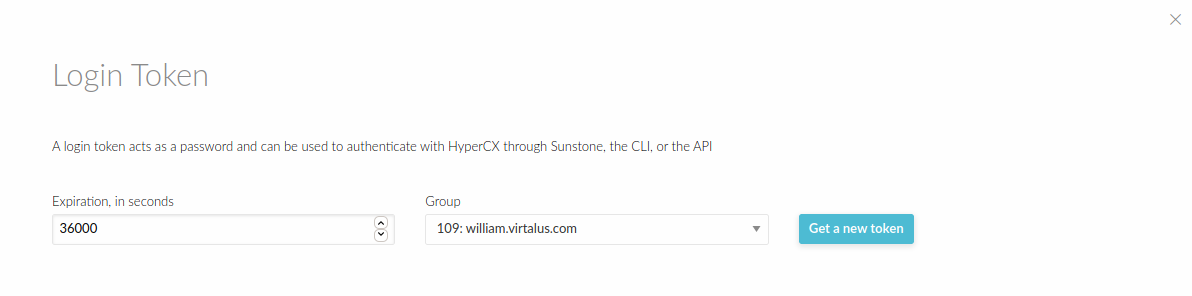
- Click button get a new token.
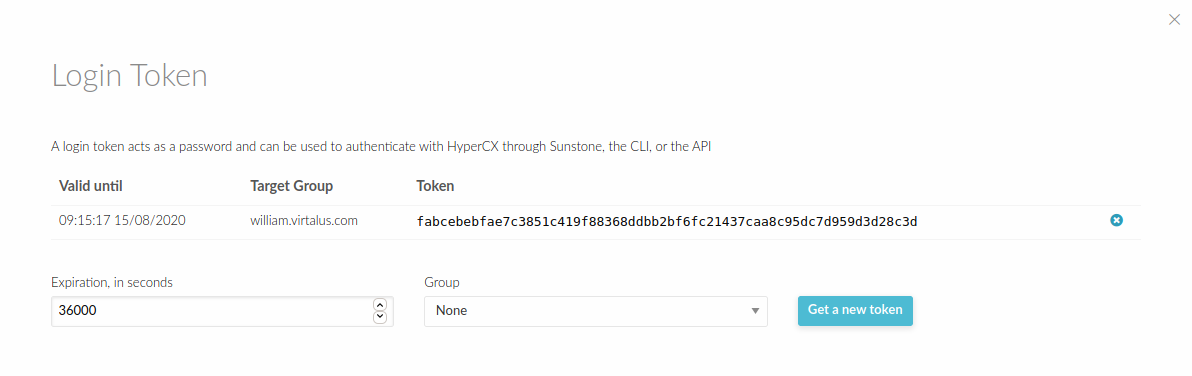
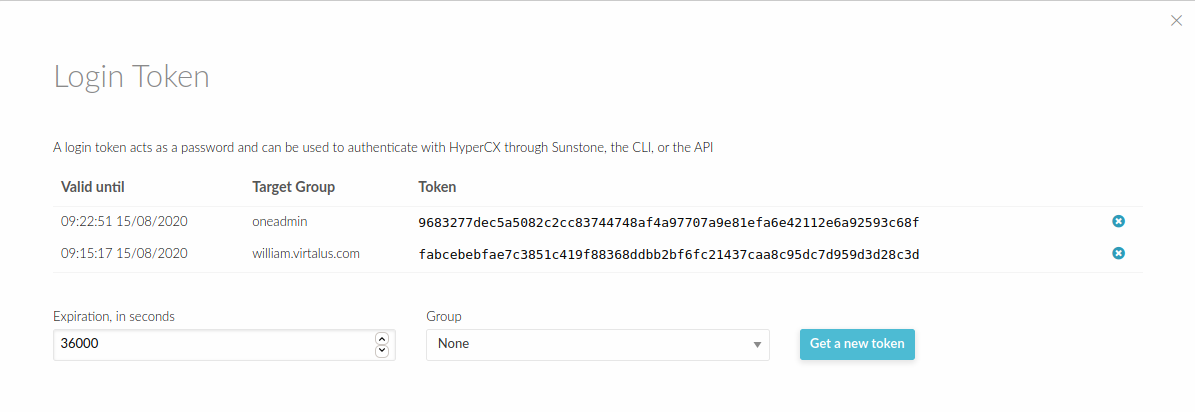
Now you can login through portal using the token that you have generated. The expiration time of the token is by default 10h (36000 seconds).The token can be created associated with one of the group the user belongs to. If the user logins with that token, he will be effectively only in that group, and will only be allowed to see the resources that belong to that group, as opposed to the default token, which allows access to all the resources available to the groups that the user belongs to.
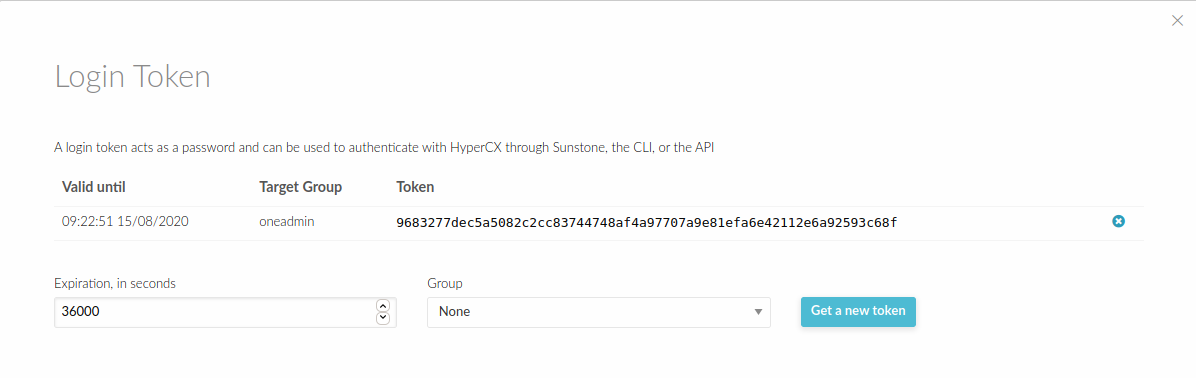
Deleting a token
A token can be removed similarly, by:
- Login to Portal.
- Click Username.
- Go to Setting.
- Then Select Auth section.
- Click Manage login tokens.
- Click token delete button.
- Now you have delete the tokens.
That's how to manage a login token at HyperCX Portal.