Create new templates
Virtalus recommends to download and use appliances provided in the marketplaces, but there are specific appliances or operating systems not available in the marketplaces. For this cases, it is required to create a template with the desired operating system. Once done, this template can be instantiated many times. The required information for this can be found on Virtalus documentation, in different sections. This guide aims to compile only the required information for this specific task in a straight forward manner.
A new template can be created either from an installation CDROM or from an existing VM disk.
Installing from an ISO
New Operating Systems are usually installed from an installation CDROM.
Upload CDROM ISO
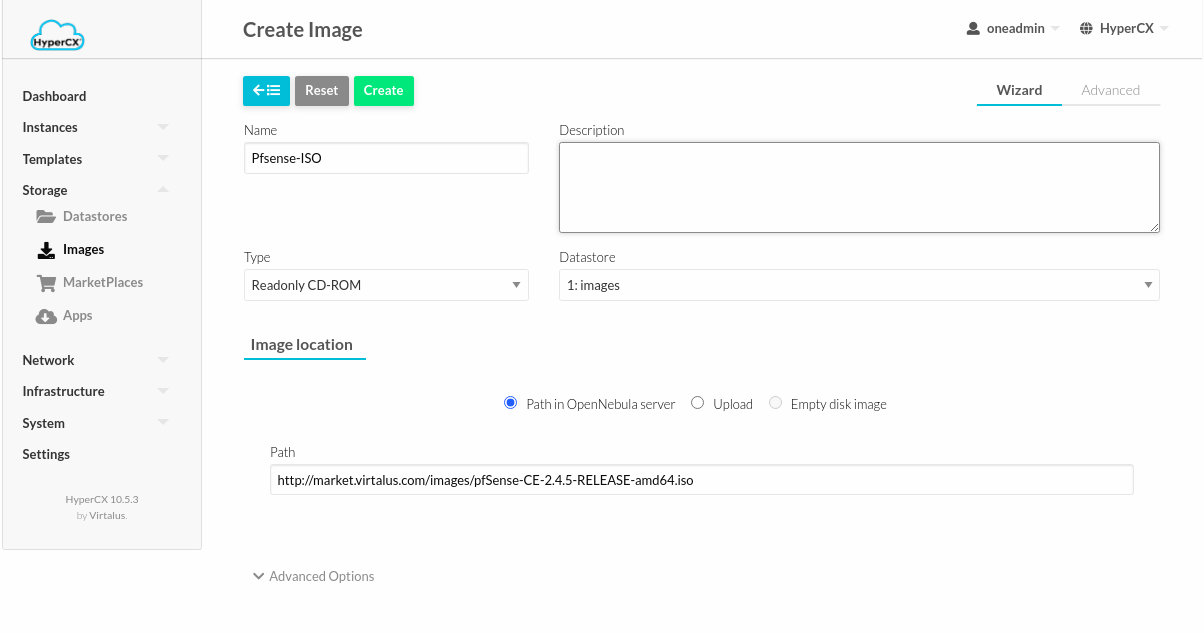
The first requirement is to upload the installation ISO as an image:
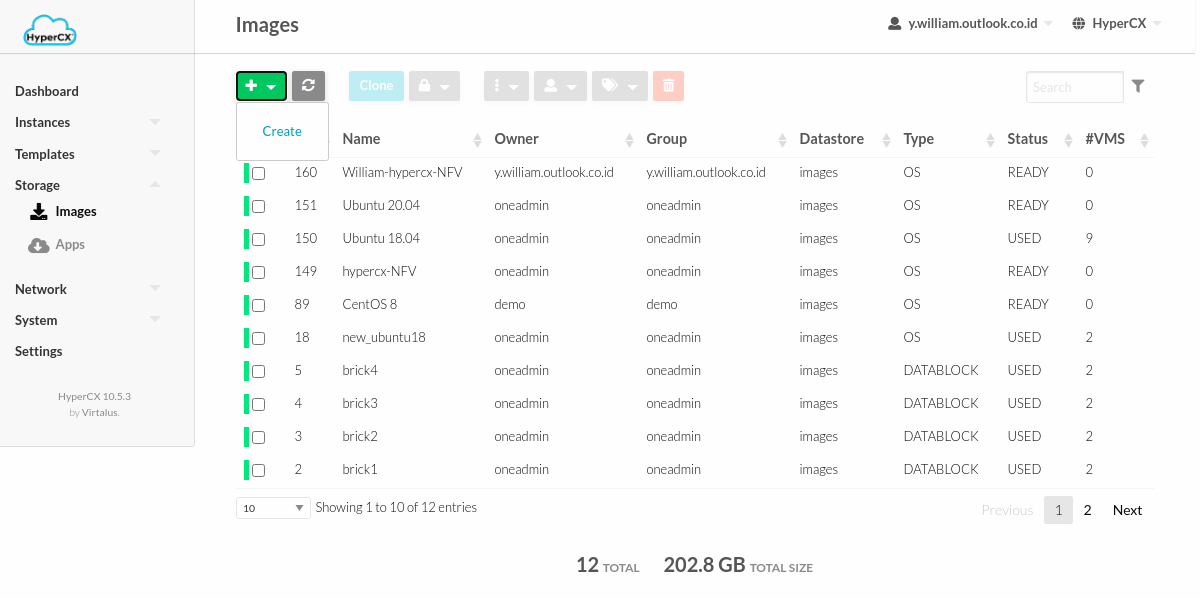
- Go to section Storage > Images and click create button.
- Set name and select Readonly CD-ROM
- For location, it is recommended to select PATH and set the url to the installation media. If the image is locally available, the Upload option can be used.
Wait until the new image is in READY state.
Create new empty disk image
The operating system will be installed into an empty virtual disk. To create this new virtual disk:
- Create a new image
- Set name and select Generic Storage Datablock as type.
- Set as Persistent. This is required to keep the data in the disk after the initial installation.
- Select Empty disk image and set the desired size.

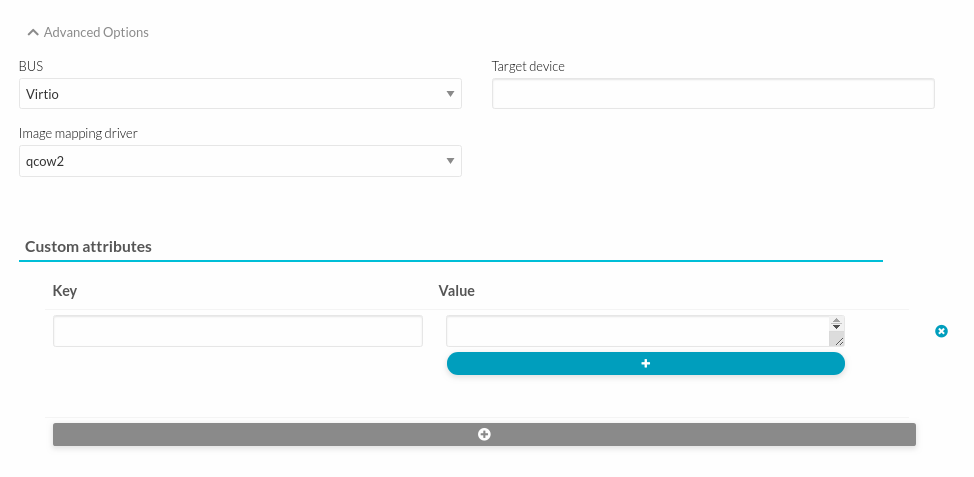
- Under Advanced Options select Virtio for Bus and qcow2 for Image mapping driver.
Creating template
A new template will be required in order to be able to instantiate a new VM. In order to create a template able to perform the desired installation:
- Go to Template > VMs and create a new template.
- Under General, set capacity and desired metadata.
- Under Storage, add the empty datablock and then add the installation CDROM.
- Under OS&CPU, change the boot order so the CDROM appears as first boot device, and mark it's check box.
- Under Scheduling, under Host Requirements select the KVM cluster.
Performing the installation
Instantiate the previously created VM and perform the installation using the VNC connection. After installation is done, power down the VM and destroy it. Information will not be lost since the datablock was set as persistent. After the VM is destroyed, update the datablock, set Type to OS and set no under Persistent. Also update the template, remove the installation CDROM and fix the boot order.
At this point, a new golden template is ready to be used in several VMs.
Uploading existing virtual disks
Some times it is preferred to install new operating systems locally and then upload the virtual disk to HyperCX. In other cases, it is desired to migrate an existing VM from a different platform into Virtlaus. For this cases, the process is as follows.
Upload the existing virtual disk
To upload the existing virtual disk:
- Create a new image
- Set name and select OS as type.
- Set as Non Persistent.
- For location, it is recommended to select PATH and set the url to the installation media. If the image is locally available, the Upload option can be used.
- Under Advanced Options select Virtio for Bus and qcow2 for Image mapping driver.
- Create image and wait until READY state.
Creating template
A new template will be required in order to be able to instantiate the new VM. To create this template:
- Go to Template > Vms and create a new template.
- Under General, set capacity and desired metadata.
- Under Storage, add the previously uploaded virtual disk.
- Under Scheduling, under Host Requirements select the KVM cluster.
The new template is ready to be instantiated now.
Create new golden images
Virtalus provides a basic installation of most commonly used Operating Systems. In some cases it is desirable to have a template with a specific application that will be instantiated several times. If this application is meant to be installed on top of an Operating System provided by Virtalus, it makes no sense to install that OS from scratch just to be able to deploy the application. For these cases, it is recommended to modify an existing disk image in order to create a golden image.
Download appliance
First step is to download a new appliance from the marketplace. This appliance will be the OS where the custom software will be installed. More information can be found here.
Create golden image
The previously downloaded appliance will create a new template and a non persistent image. This image must be set to persistent. Next, the new template must be instantiated. Install any application on the newly created VM and modify the OS as desired. After no more changes are needed, destroy the VM. Changes will persist in the image since it was set to persistent before instantiating the template. Next, revert that change to the image by setting it to non-persistent again and the template is ready.